How to Take Photos for E-Commerce in 2026: A Complete Guide for Beginners
Cutout Partner
April 2, 2026
0 views
Selling products online requires more than just having good inventory. Your product images act as the main link between your brand and potential customers, replacing the in-person experience of seeing and touching items. Learning how to take effective e-commerce photos can greatly improve your conversion rates, reduce product returns, and help build trust with your audience.
Whether you are starting a new online store or improving your current visual content, understanding the basics of product photography will help your business stand out in a competitive market. High-quality images not only attract attention but also give customers the confidence to make a purchase.
In this article, Cutout Partner brings you a complete guide to mastering e-commerce product photography and creating visuals that truly convert. In today’s competitive online marketplace, your product images do more than just display items—they represent your brand, build trust, and influence buying decisions.
Understanding E-Commerce Photography Requirements
Before working with camera settings and lighting, it’s important to understand what makes e-commerce photography different from other types of product photography. Online customers cannot physically touch or examine products, so your images must clearly communicate details, quality, and value through visuals alone. Strong product images help bridge this gap and influence buying decisions.
Platform-Specific Image Standards
Different e-commerce platforms and marketplaces have their own image guidelines, which directly impact how you should capture and prepare your photos. For example, Amazon typically requires a pure white background (RGB 255, 255, 255) for main product images, while platforms like Instagram favor lifestyle-oriented visuals that showcase products in real-life scenarios.
Common platform requirements include:
- Minimum resolution (generally 1000–2000 pixels on the longest side)
- Aspect ratios (such as 1:1 for Instagram or flexible ratios for Shopify)
- File formats (JPEG for standard images, PNG for transparency)
- Background preferences (white, transparent, or branded styles)
- Product framing (usually covering around 85% of the image frame)
Understanding these standards helps you plan your photoshoots efficiently and reduces the need for repeated reshoots across platforms.
The Role of Consistency in Product Photography
Consistency is key to building trust and maintaining a professional brand image. When products share the same lighting, angles, and styling, customers can easily compare items and navigate your catalog without confusion.
Creating a consistent workflow involves documenting lighting setups, camera positioning, editing styles, and image sequencing. Developing a clear style guide ensures that every product photo aligns with your brand identity and delivers a unified shopping experience.
Essential Equipment for E-Commerce Photography
You don’t need expensive gear to start creating professional e-commerce photos, but having the right equipment can greatly improve both quality and workflow efficiency.
Camera Options and Default Camera Settings
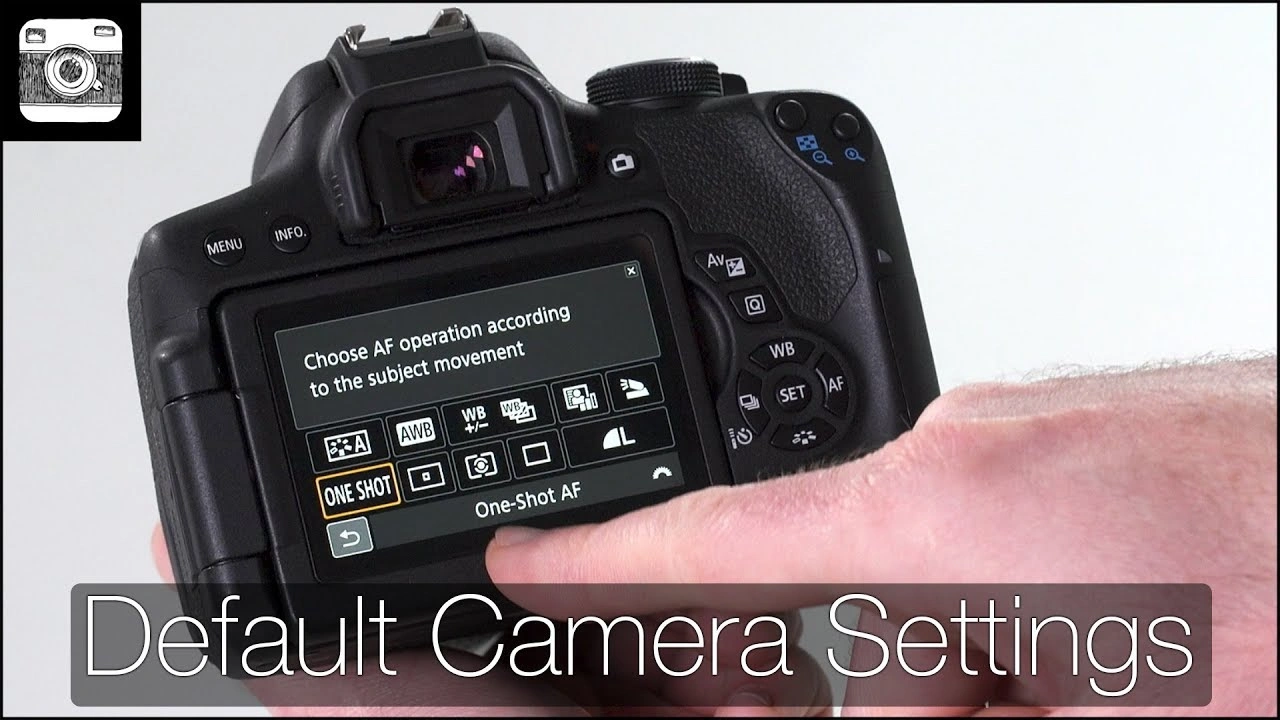
Professional DSLR and mirrorless cameras provide the most control, but modern smartphones can also produce high-quality images for many product types. The main advantages of dedicated cameras include better lens options, improved low-light performance, and advanced manual controls.
For serious e-commerce photography, look for these features:
- Manual mode for consistent exposure control
- High resolution (20MP or higher) for detailed images and cropping flexibility
- Tethered shooting support for viewing images on a larger screen
- RAW format capture for maximum editing flexibility
When setting up your shots, use these baseline settings: manual mode, ISO between 100–200 to reduce noise, aperture around f/8–f/16 for sharp focus across the product, and adjust shutter speed to achieve proper exposure. These settings provide a reliable starting point that can be adapted depending on lighting conditions and product type.
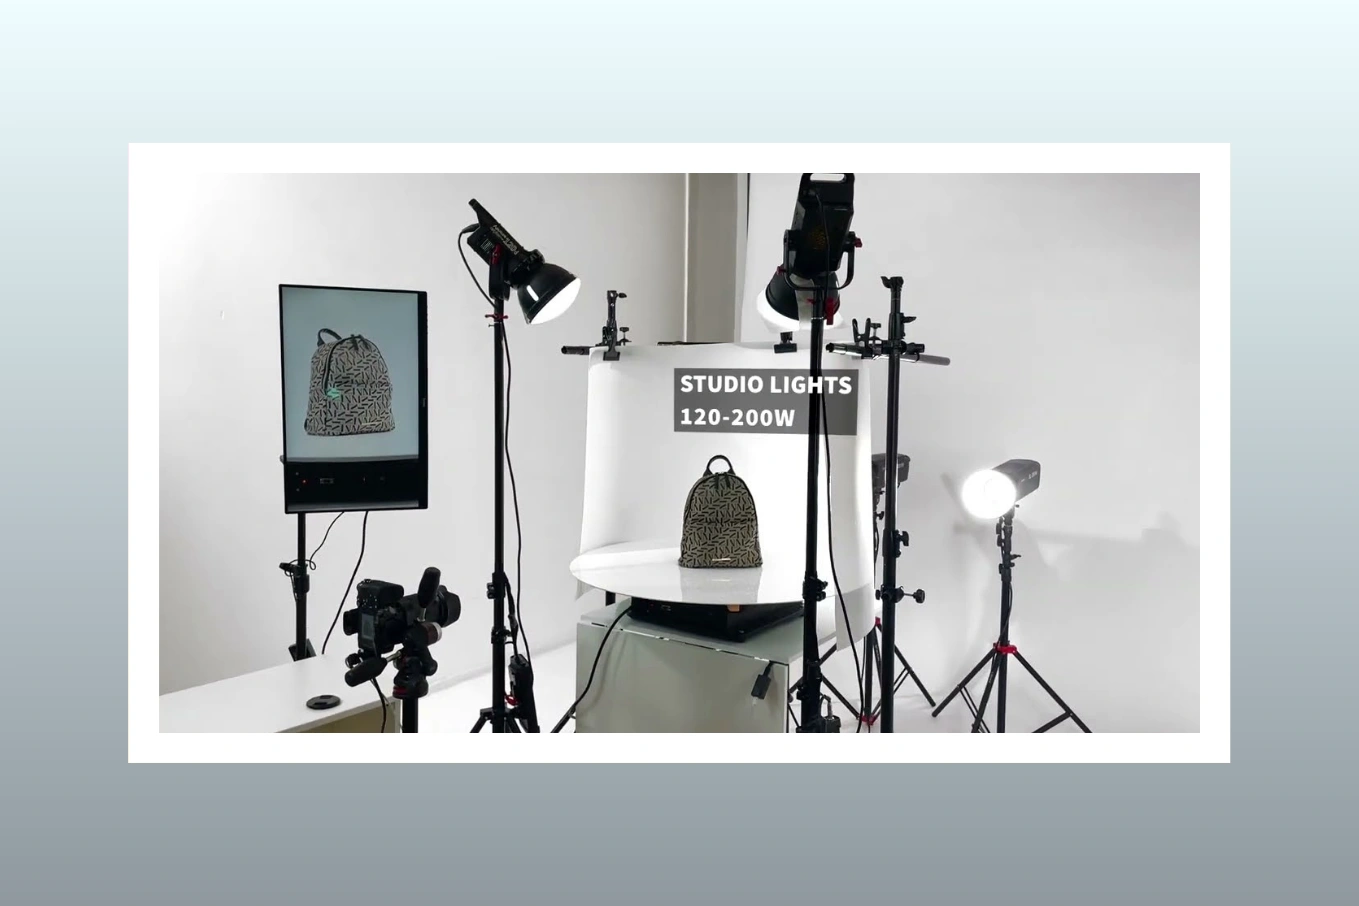
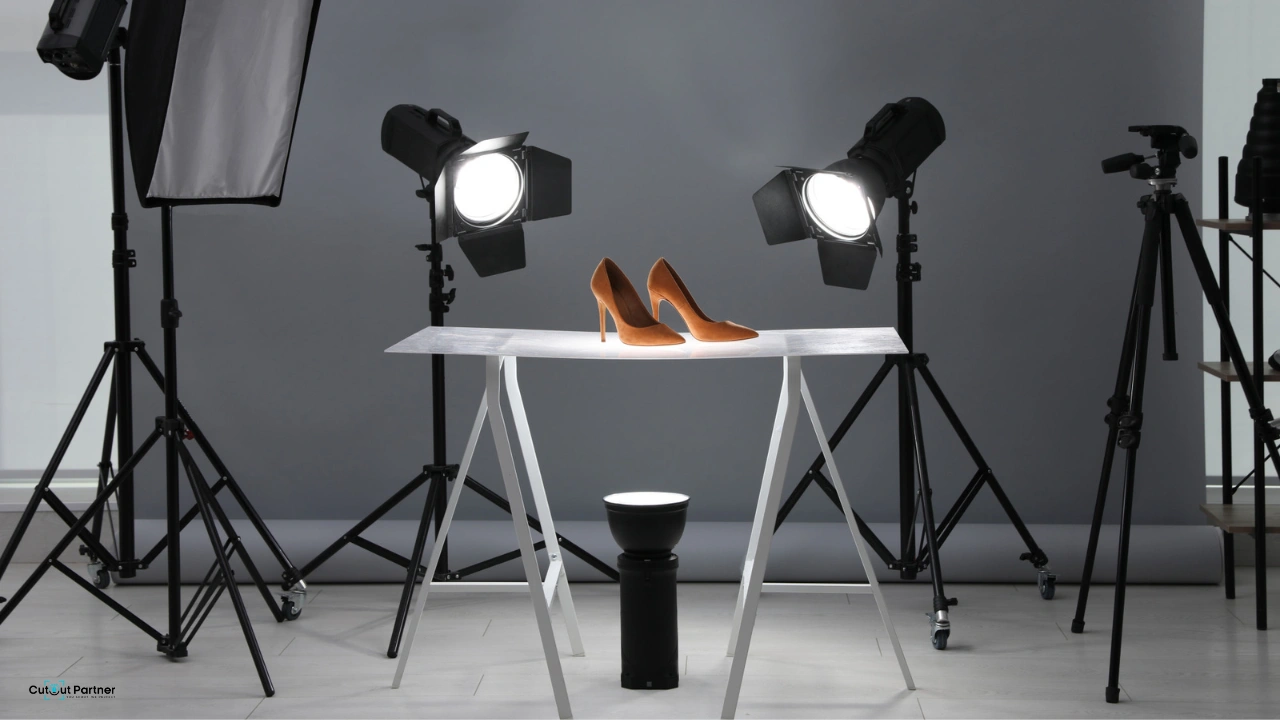
Lighting Equipment Fundamentals
Lighting is the most critical element in product photography. While natural light can work for small setups, controlled artificial lighting ensures consistency regardless of time or weather.
A basic lighting setup should include:
- Two or three continuous LED lights (daylight-balanced around 5500K)
- Softboxes or diffusers to soften harsh shadows
- Reflectors (white, silver, or gold) to fill in shadows
- Adjustable light stands for positioning flexibility
- A backdrop system for clean, seamless backgrounds
Beginners should start with a simple three-point lighting setup: a key light for main illumination, a fill light to reduce shadows, and a backlight to separate the product from the background. This foundation helps create clean, professional, and visually balanced product images suitable for e-commerce platforms.
Supporting Equipment That Makes a Difference
In addition to cameras and lighting, several supporting tools can greatly improve both your workflow and the quality of your final images. A sturdy tripod is one of the most important accessories, as it helps prevent camera shake and keeps your framing consistent throughout the shoot. This is especially useful when photographing multiple product variations that require the same angle and composition.
You can also enhance your setup with a few essential tools:
- A tripod with a center column for overhead or flat lay photography
- A gray card to achieve accurate white balance and true-to-life colors
- Invisible mannequins for clean and professional apparel presentation
- Product stands and props to support styling and improve composition
- A tethering cable to connect your camera to a computer for real-time viewing
Using these supporting tools helps maintain consistency, improves efficiency during shoots, and ensures your product images look polished and professional.
Setting Up Your E-Commerce Photo Studio
Creating a dedicated photography space—even a small corner in your office or warehouse—can greatly improve workflow efficiency and ensure consistent, high-quality product images. This setup doesn’t require a large investment; careful planning and organization are more important than space size.
Background Selection and Setup
Clean, distraction-free backgrounds are essential in e-commerce photography, as they keep the focus entirely on the product. White seamless paper is the most widely used option because it is affordable, versatile, and meets the requirements of most online marketplaces.
A typical white background setup involves mounting a roll of white paper on a backdrop stand and allowing it to curve smoothly from the vertical backdrop to the horizontal surface. This seamless curve removes visible edges or corners, creating a clean and professional look.
Depending on your brand and product type, you can also explore alternative backgrounds such as:
- Textured surfaces like wood, marble, or concrete for lifestyle photography
- Colored backgrounds that match your brand identity
- Transparent acrylic surfaces for reflection effects
- Custom-built sets that align with your brand storytelling
Space Requirements and Organization
For most small to medium-sized products, a space of around 10×10 feet is sufficient. This allows enough room to position your camera at an optimal distance while accommodating lighting equipment on both sides of the product.
Organizing your studio into distinct zones improves efficiency:
- A shooting area with backdrop and lighting setup
- A staging area for arranging and preparing products
- A review station with a computer or monitor to check images immediately after capture
This structured workflow reduces setup time, minimizes errors, and helps maintain consistency across all product shoots.
Mastering Product Photography Techniques
Understanding how to take photos for e-commerce requires both technical knowledge and creative execution. Different products demand different approaches, but there are core techniques that apply across most categories and help ensure professional, high-converting visuals.
The Standard Product Shot Sequence
Most e-commerce product listings perform best when they include a structured set of images that fully represent the product. A typical sequence includes 5–7 images, each serving a specific purpose:
- Hero shot: Front-facing, centered image on a clean background
- Angle views: 45-degree shots showing depth and structure
- Back view: Important for apparel and products with rear details
- Detail shots: Close-ups of textures, materials, stitching, or labels
- Scale reference: Shows size through usage or comparison
- Packaging shot: Displays what the customer will receive
- Lifestyle image: Shows the product in a real-world context
This combination helps customers understand the product from multiple perspectives, reducing uncertainty and improving purchase confidence.
Lighting Setups for Different Product Types
Different materials require different lighting techniques. Reflective products like jewelry, electronics, and glassware need carefully diffused lighting to avoid harsh reflections and hotspots. Large soft light sources positioned at angles help control reflections and preserve detail.
For matte or textured products such as clothing or furniture, side lighting works well to emphasize surface details and create depth through subtle shadows. Using softboxes, diffusion panels, or light tents can help achieve balanced and controlled lighting across different product types.
Composition and Framing Strategies
Proper framing ensures your product meets platform requirements while maintaining visual appeal. Most e-commerce platforms recommend that products occupy around 80–90% of the frame, minimizing empty space.
For standard product images, keep the product centered and aligned. For lifestyle shots, applying the rule of thirds can create more dynamic compositions by placing key elements along intersecting grid lines. It’s also a good practice to shoot slightly wider than your final crop, giving flexibility during post-processing and ensuring consistency across your image set.
Styling and Presentation Strategies
How you present a product before taking the shot has a major impact on how appealing it looks to potential customers. Good styling turns simple product documentation into engaging visual content that helps drive sales.
Props and Context Without Distraction
Props should support the product’s story without drawing attention away from it. For example, showing a watch on a wrist helps customers understand scale and usage, whereas a floating watch on a plain background may lack context. However, it’s important that props remain subtle and do not introduce visual distractions like overly bright colors or competing elements.
When selecting props, follow these guidelines:
- Use neutral or complementary colors that do not compete with the product
- Keep props slightly out of focus so the product remains the main subject
- Choose props that demonstrate usage, function, or lifestyle context
- Maintain consistency in prop selection across similar product categories
The goal is to create a balance between creativity and clarity, ensuring the product remains the focal point while still appearing attractive and realistic in a real-world setting.
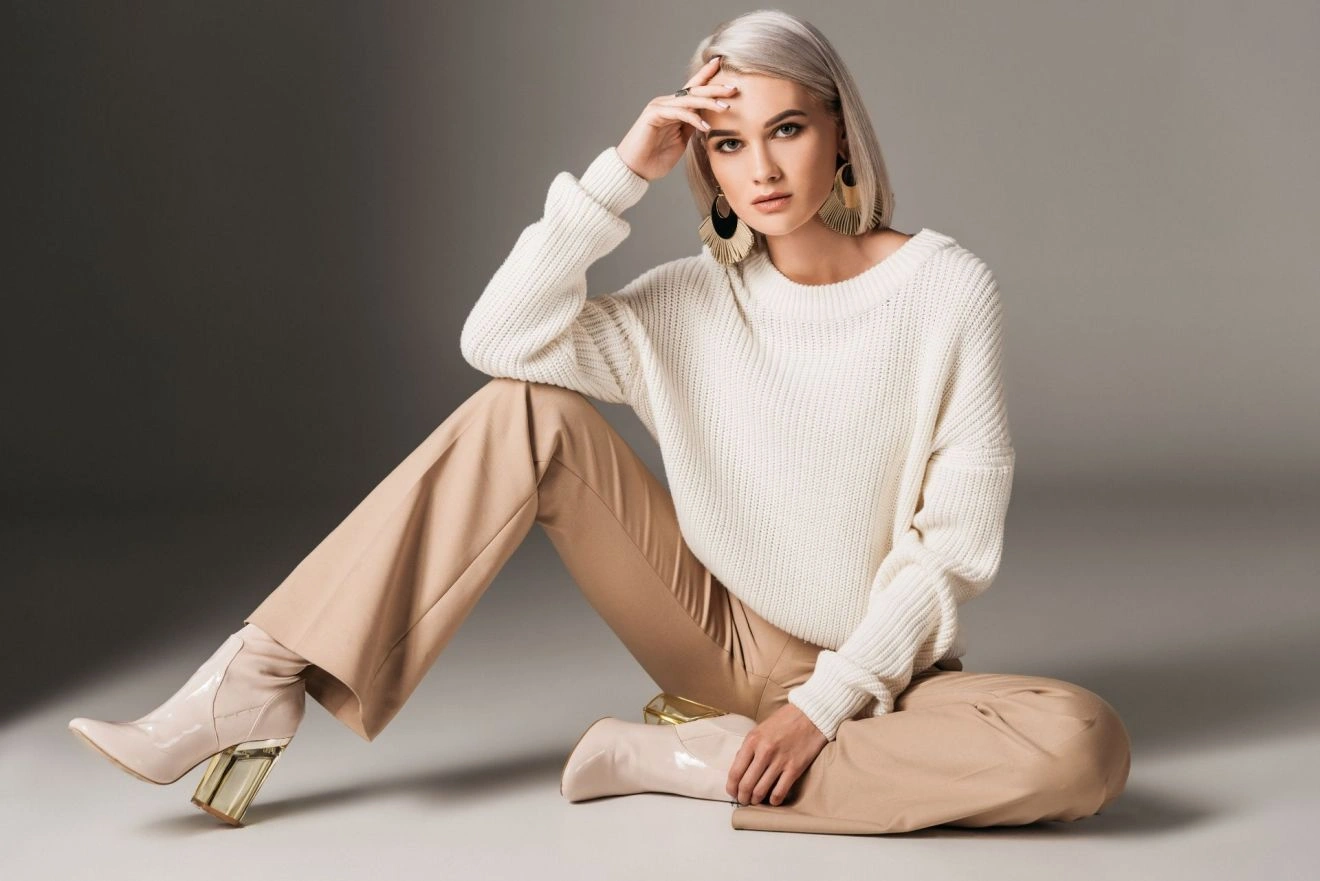
Apparel-Specific Photography Approaches
Clothing and apparel require special attention because fabrics behave differently depending on how they are styled and displayed. Wrinkles, folds, and fit variations can influence how customers perceive the product.
Two common presentation methods include ghost mannequin and flat lay photography. Photoshop Ghost mannequin creates a three-dimensional effect that shows how garments fit on a body form, giving customers a better understanding of structure and shape. In contrast, flat lay photography presents clothing arranged on a flat surface, offering a clean, minimal, and often more artistic style that works well for catalog and social media visuals.
Model photography adds lifestyle appeal to apparel products, but it also requires more planning, coordination, and a higher budget. In some cases, it may also lead to increased return rates if customers feel the product does not match the model’s body type or expectations. For this reason, many successful apparel brands follow a balanced approach: using mannequin shots for the main product image, flat lay photos for clean and detailed presentations, and model-based lifestyle images for marketing and promotional campaigns.
Detail and Texture Capture
Close-up photography is essential for highlighting product quality. It allows you to showcase textures, materials, stitching, finishes, and other fine details that are not visible in standard wide shots. These images help customers better understand what they are purchasing and build confidence in the product.
Premium products, in particular, benefit greatly from detailed imagery. Close-up shots communicate craftsmanship and help justify higher price points. By combining sharp, well-lit macro images with standard product photos, you create a more complete and transparent product presentation, which ultimately enhances trust and supports better purchasing decisions.
The close-up product photography workflow guide explains macro photography techniques, but you don’t always need specialized macro lenses. Many cameras can capture excellent close-up images when you maintain proper distance and use suitable aperture settings to keep the subject sharp and well-defined.
Focus stacking is an advanced technique that can further enhance image clarity. It involves combining multiple images taken at different focus points into a single photo, resulting in a fully sharp image from front to back. This method is especially useful for products where fine details matter, such as jewelry, watches, and high-end accessories.
By using focus stacking, you can achieve a level of sharpness that highlights every texture element, engraving, or intricate design feature. This helps customers examine products more closely, increasing confidence in quality and craftsmanship.
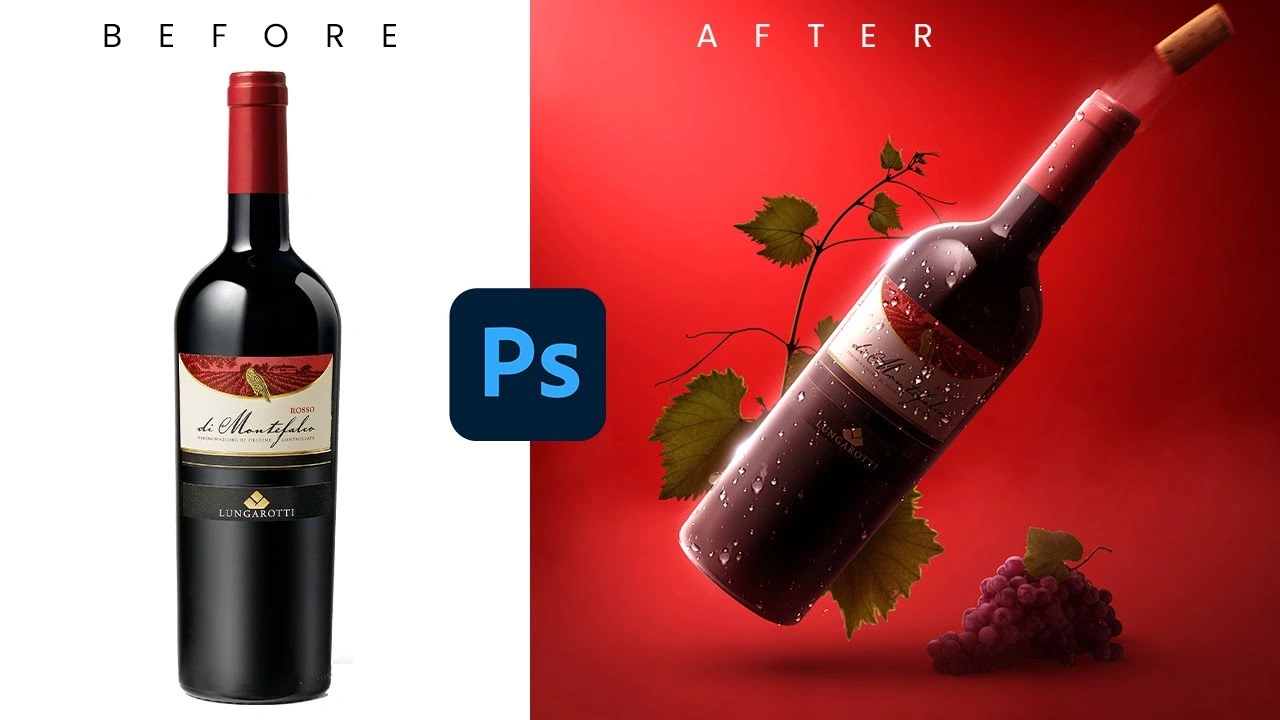
Post-Processing and Image Optimization
Raw images straight from the camera rarely meet the final standards required for an online store. Post-processing helps transform good captures into clean, consistent, and professional product images that align with e-commerce expectations.
Basic Photo Editing Workflow
A structured and repeatable editing workflow is essential when handling multiple product images. It ensures consistency and efficiency across your catalog. The process typically begins with technical corrections, followed by creative enhancements.
A standard editing sequence includes:
- Importing and selecting the best images (culling)
- Adjusting white balance using a gray card reference
- Correcting exposure and recovering highlights and shadows
- Straightening and cropping to the required dimensions
- Removing dust spots and minor imperfections
- Applying consistent color grading across all images
- Sharpening images for web display
- Exporting optimized files for upload
This workflow ensures each image looks polished while maintaining uniformity across your product listings.
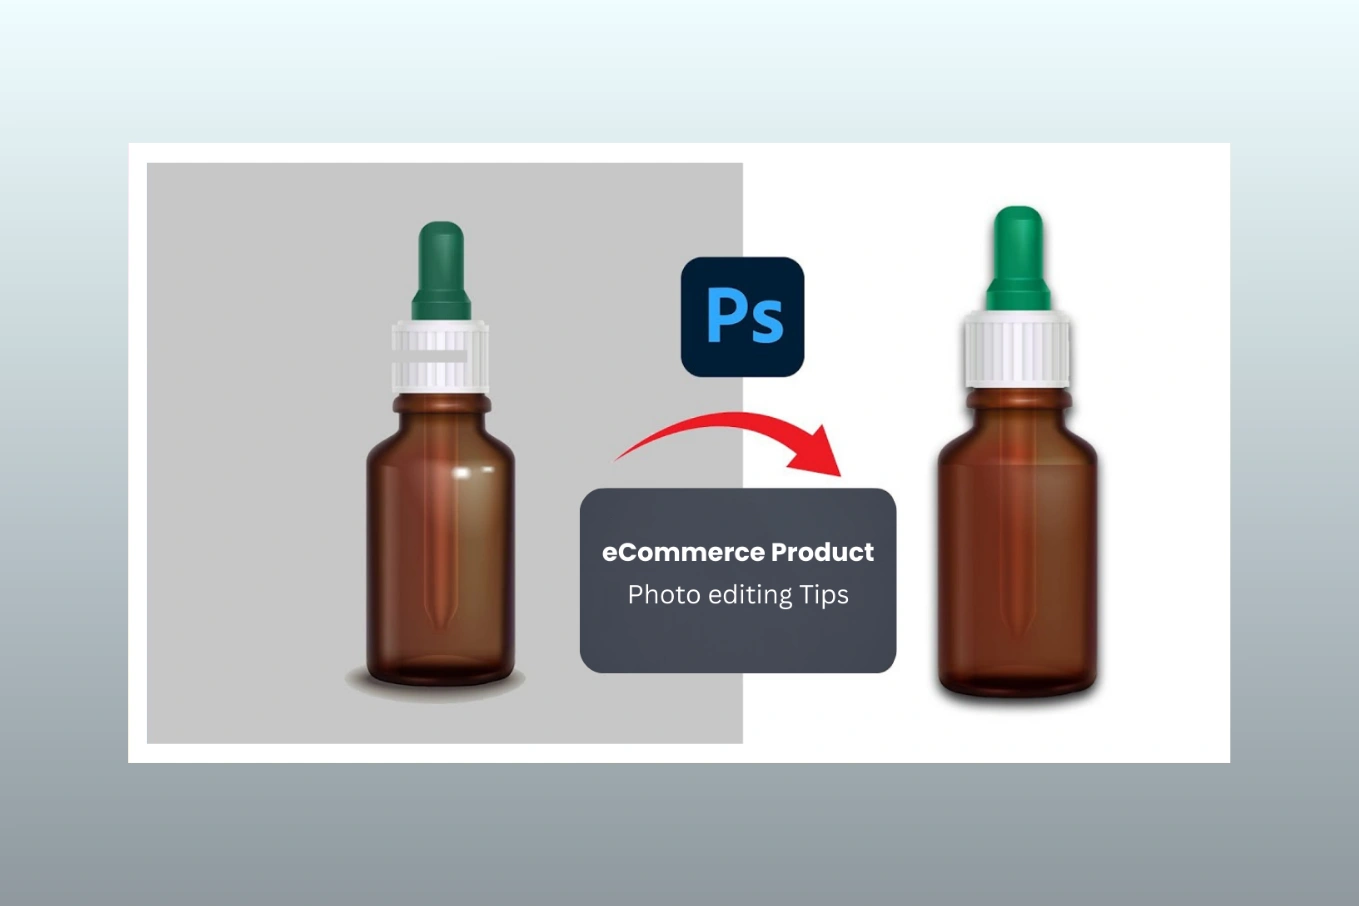
Background Removal and Replacement
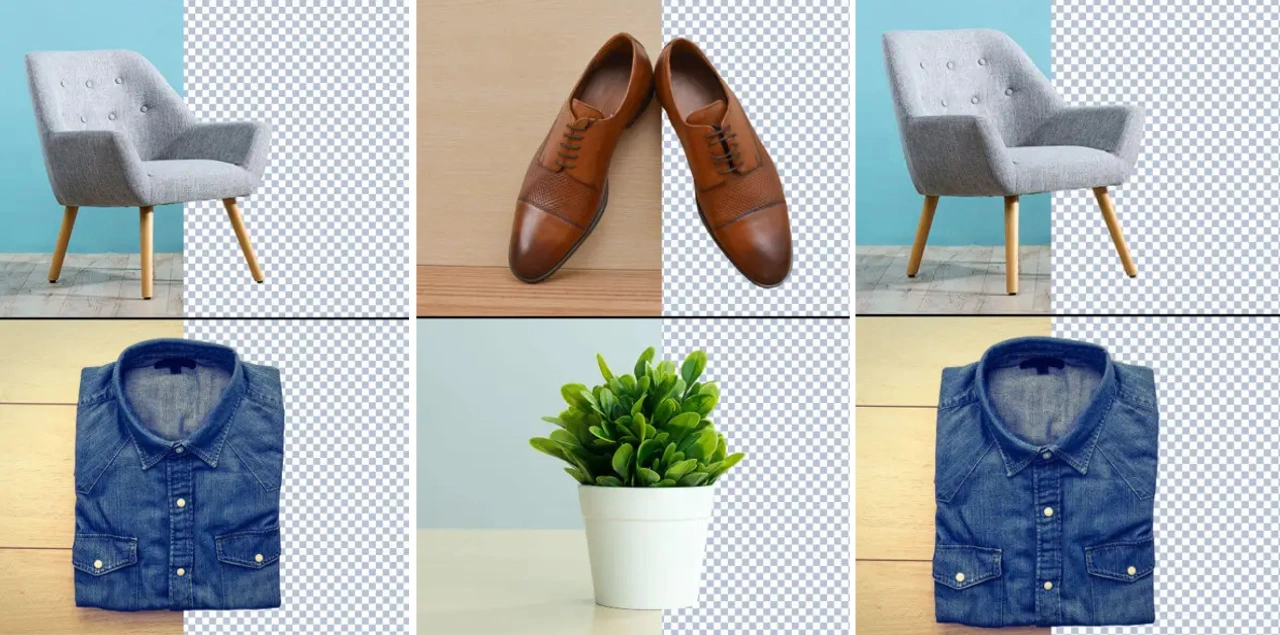
Many e-commerce platforms require clean white or transparent backgrounds for product images. Even if you shoot on a white backdrop, post-processing is often needed to achieve a pure white background (RGB 255, 255, 255) and remove any unwanted shadows or inconsistencies.
Background removal can be done using manual tools in software like Photoshop or through AI-powered solutions. Automated tools are efficient for bulk editing, while manual refinement is often preferred for complex products with fine edges, such as jewelry or items with intricate details.
File Formatting and Optimization
High-resolution images can slow down website performance if not optimized properly. To maintain a balance between quality and speed, it’s important to compress images without noticeable loss of detail.
Best practices include:
- Exporting JPEG files between 100–250 KB for standard product images
- Using progressive JPEGs for faster loading experiences
- Applying appropriate compression settings during export
- Using PNG format only when transparency is required
Optimized images improve page load speed, enhance user experience, and contribute positively to SEO performance, all of which are essential for successful e-commerce operations.
Specialized Product Categories
Different product types require different photography approaches. Understanding these nuances helps you tailor your techniques to showcase each item in the most effective and visually appealing way.
Photographing Reflective and Transparent Items
Products made of glass, chrome, or polished materials are highly reflective, meaning they capture everything in their surroundings, including lights, cameras, and the studio environment. Managing these reflections requires careful lighting control and setup.
A common approach is to create a “white world” using large diffusion panels or a light tent. This setup surrounds the product with soft, even lighting, reducing harsh reflections while preserving the natural reflective qualities of the material. For transparent items like glassware, backlighting is especially useful as it adds depth and highlights clarity.
When photographing beverages, additional care is needed. Elements such as condensation, liquid levels, and timing must be controlled precisely. In many cases, photographers use stand-in products during setup and replace them with the final product once lighting and composition are perfected.
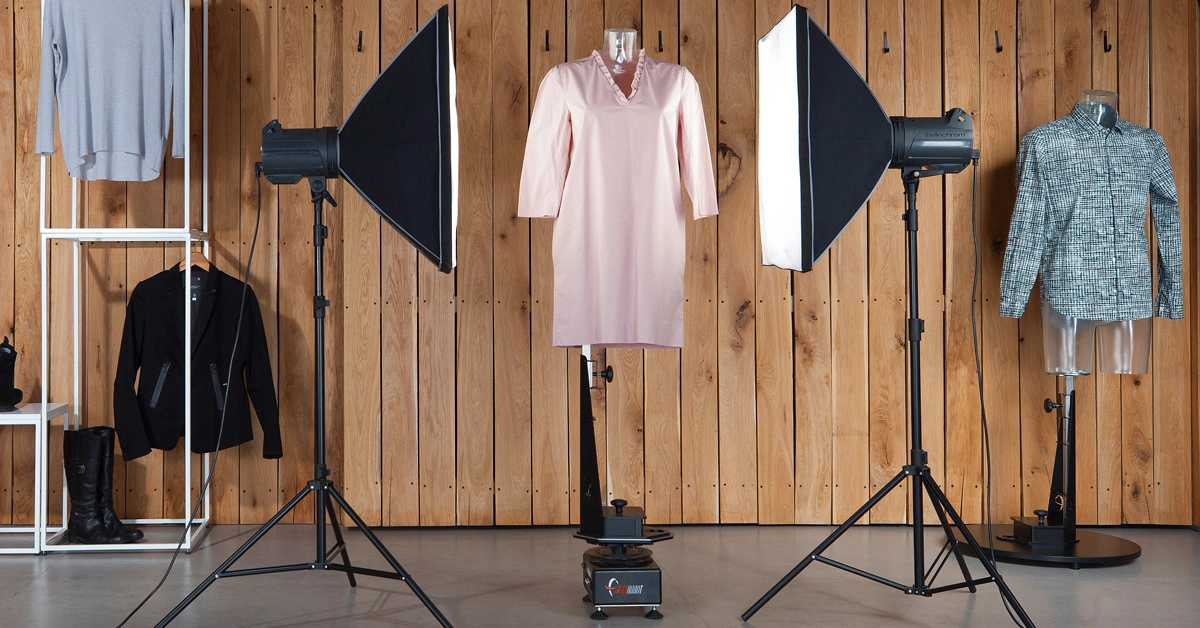
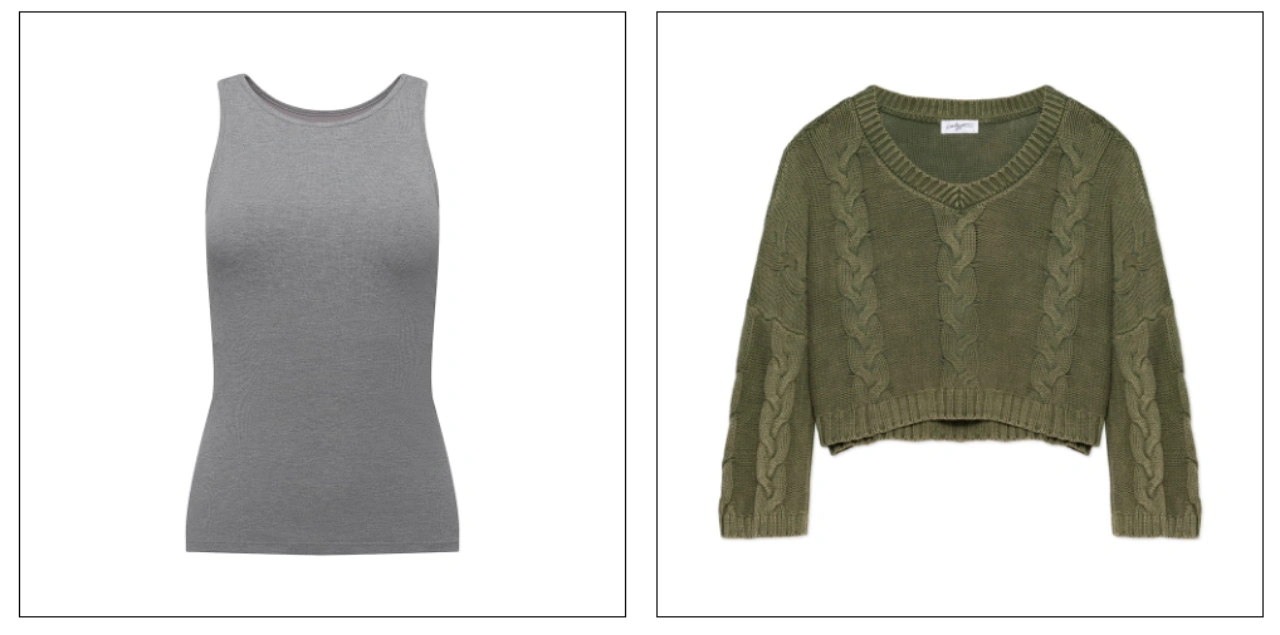
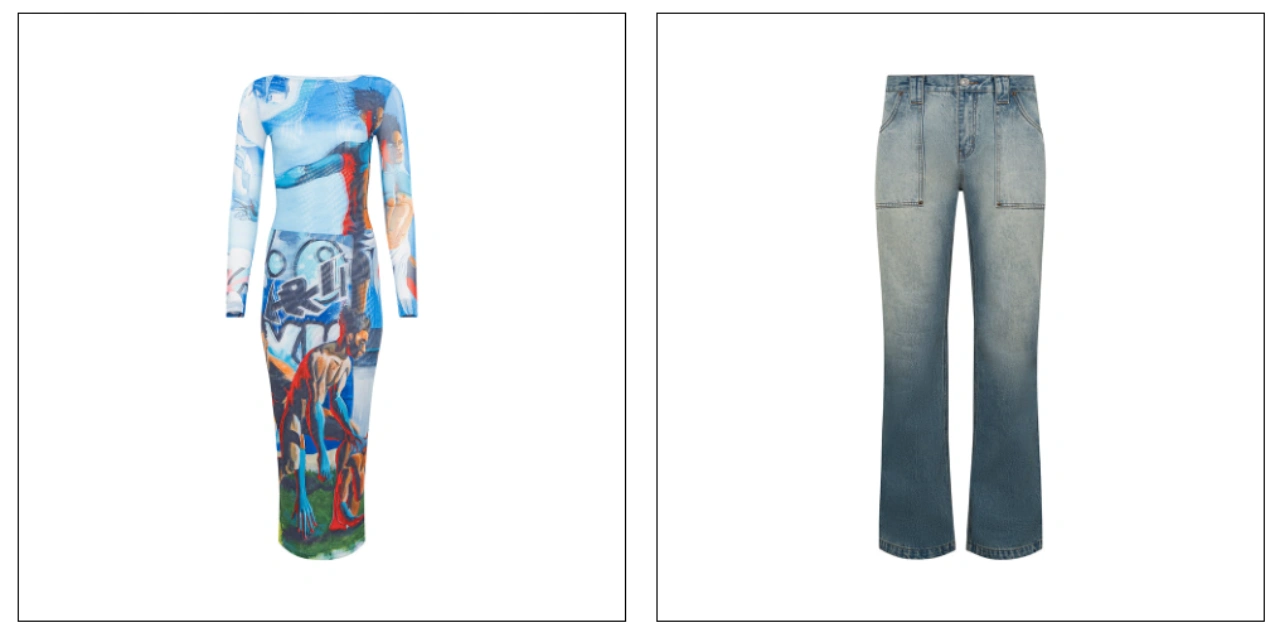
Fashion and Apparel Photography
Clothing photography focuses on fit, structure, and presentation. Proper styling helps communicate how the garment looks and feels in real-world use. Before shooting, garments should be steamed or pressed to remove wrinkles and create clean lines.
When using mannequins, garments can be pinned from behind to achieve a natural and flattering fit. For flat-lay photography, minimal styling is recommended to maintain a clean and authentic look while still making the product visually appealing. Consistency in lighting and color accuracy is also essential, especially when dealing with different fabric types.
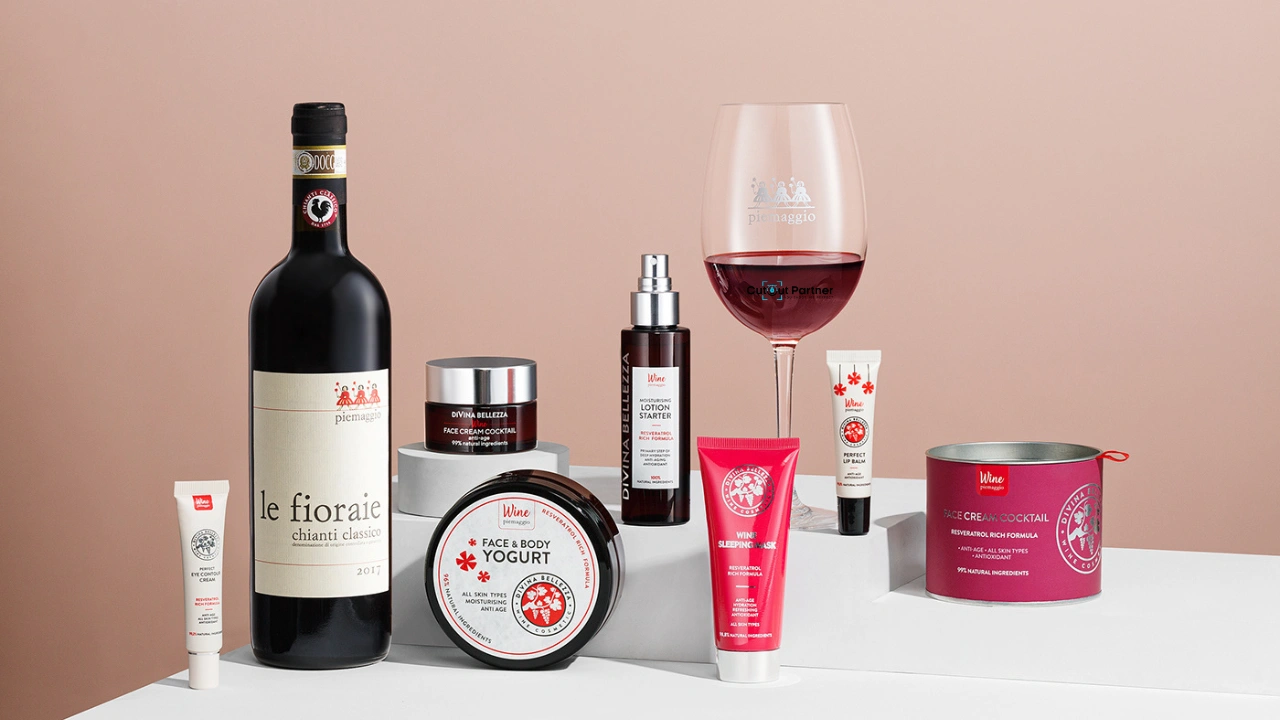
Beauty and Cosmetics Photography

Beauty products present unique challenges due to their small size, reflective packaging, and the importance of accurate color representation. Customers rely heavily on images to choose shades, textures, and product types.
Effective beauty product photography should include multiple angles that show packaging details, product texture, and size. It’s also helpful to include images of the product being opened to reveal the contents. For makeup items, swatch images across different skin tones can provide valuable context and help customers make more confident purchasing decisions.
Why Choose Cutout Partner for Specialized E-commerce Photo Retouching Services
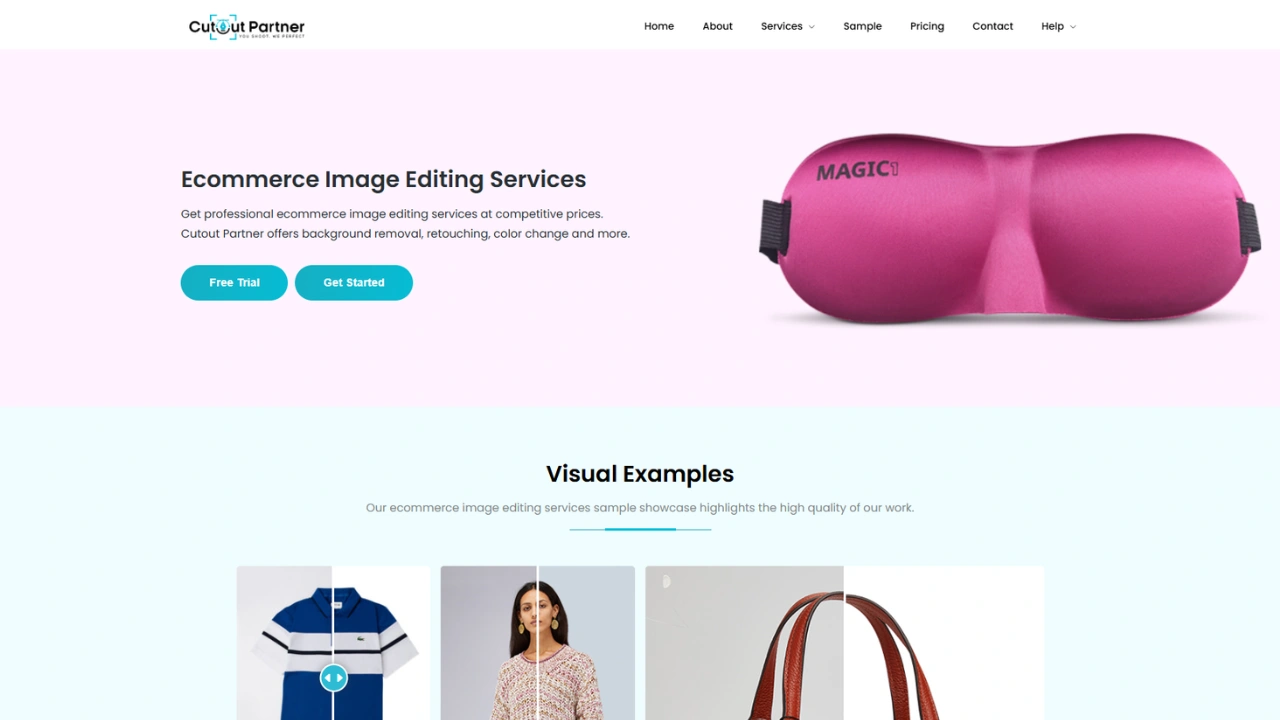
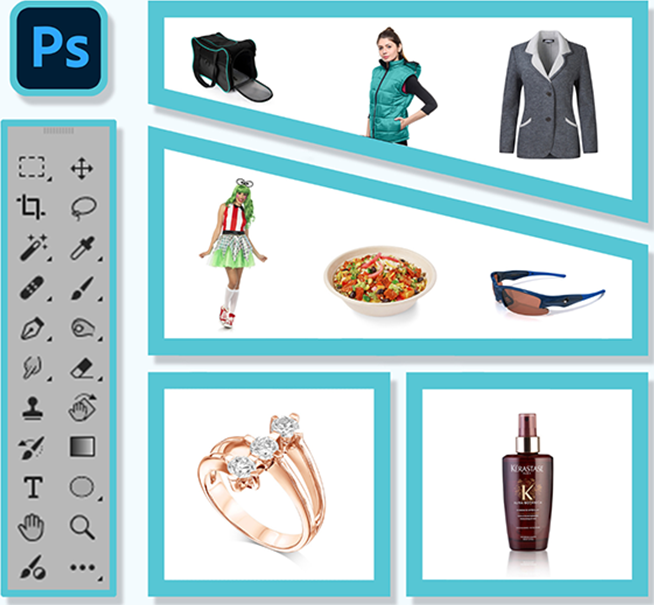
Cutout Partner is a trusted name in the global image editing and post-production industry, known for delivering high-quality, consistent, and scalable e-commerce photo retouching solutions. With a team of 50+ experienced Photoshop experts, the company specializes in services such as clipping paths, background removal, image retouching, ghost mannequin editing, and advanced image manipulation tailored for online businesses.
One of the key advantages of choosing Cutout Partner is its deep understanding of e-commerce image requirements. Product visuals are optimized to meet platform standards while maintaining sharp details, accurate colors, and clean presentation. This ensures your products not only look professional but also build customer trust and improve conversion rates.
Cutout Partner serves a wide range of industries, including e-commerce, fashion, jewelry, headshots, and newborn photography. Their ability to handle diverse product categories makes them a versatile partner for businesses of all sizes. Whether you are managing a small catalog or thousands of SKUs, their streamlined workflow ensures fast turnaround without compromising quality.
With a client base of over 3,000 global businesses, Cutout Partner is recognized for its reliability, affordability, and consistency. By outsourcing your photo retouching needs, you can save valuable time, reduce operational costs, and focus more on scaling your business while maintaining visually compelling product images that stand out in competitive marketplaces.
Ready to elevate your product visuals and boost your e-commerce performance? Partner with Cutout Partner today for professional, high-quality, and reliable image editing services. Whether you need background removal, clipping paths, ghost mannequin editing, or advanced retouching, our expert team is here to deliver results that enhance your brand and increase conversions.
Get in touch now to request a free quote, share your requirements, and experience fast turnaround with consistent quality. Let Cutout Partner handle your image editing while you focus on growing your business and increasing sales with stunning, conversion-focused visuals.
Scaling Your E-Commerce Photography Operation
As your e-commerce business grows, the demand for product photography increases as well. To keep up with higher volumes while maintaining quality, you need structured systems that support efficiency, consistency, and scalability.
Batch Shooting Strategies
When photographing multiple products in a single session, consistency is key. Keep camera settings and lighting unchanged throughout the shoot so that images can be edited uniformly later. This approach significantly reduces post-processing time and ensures a cohesive look across your catalog.
Organize your workflow by grouping products by category and shooting them in a logical sequence. For example, capture all front views first, followed by angle shots, and then detail images. This minimizes the need for frequent lighting adjustments and keeps the workflow smooth.
Creating shot lists and checklists is also highly recommended. These help ensure that no essential angles or details are missed during high-volume sessions, improving both efficiency and completeness.
When to Consider Professional Services
Choosing between in-house photography and outsourcing depends on your business size, budget, and production needs. Smaller businesses with limited SKUs may start by handling photography internally to learn the basics of e-commerce product imaging.
However, as your catalog grows—typically beyond 50–100 SKUs—or when facing tight deadlines for product launches, outsourcing can provide significant advantages. Professional services offer specialized equipment, experienced photographers, and refined workflows that ensure consistent, high-quality results at scale.
Building an Image Library System
A well-organized image library is essential for managing large volumes of product photos. Use clear and consistent naming conventions that include product SKU, view type, and date. Implement metadata tagging or digital asset management tools to make images easy to search and retrieve when needed.
A structured system not only improves workflow efficiency but also supports long-term scalability as your product catalog continues to expand.
Rounding Up
In conclusion, taking photos for e-commerce requires a balance of planning, technique, and consistency. Start by setting up a clean and organized space with proper lighting and a simple background that highlights your products. Focus on composition, camera settings, and stable positioning to capture sharp, professional images. Use different angles, close-ups, and styling methods to showcase details and functionality. Post-processing is equally important to refine colors, remove imperfections, and optimize images for web use. As you scale, maintain consistency across all product images to build trust and improve customer experience. With practice and the right workflow, you can create visuals that drive engagement and boost sale
Share this post

Ready to transform your images?
Elevate your brand with stunning, high-impact visuals. We’ll refine your photos to leave a lasting impression!
Get Started Now!