How to Edit Newborn Photos in Lightroom: A Step-by-Step Guide for Soft, Natural Skin
Cutout Partner
February 9, 2026
0 views
Editing newborn photos is very different from editing portraits of adults or even older children, because a newborn’s skin is delicate, sensitive, and full of natural texture that should never look plastic or over-retouched. As a newborn photographer or professional photo editor, your goal is not to “fix” the baby’s skin, but to gently enhance what is already there while keeping the image soft, clean, and emotionally warm. Adobe Lightroom is one of the best tools for this job, because it allows for subtle, non-destructive adjustments that protect skin detail and color accuracy throughout the editing process.
In this guide, you will learn how to edit newborn photos in Lightroom using a clear, step-by-step workflow that focuses on soft, natural skin, realistic tones, and professional consistency. This approach is widely used in professional newborn photo editing studios and helps photographers maintain a clean style that parents love and trust.
Why Lightroom Is Ideal for Newborn Photo Editing

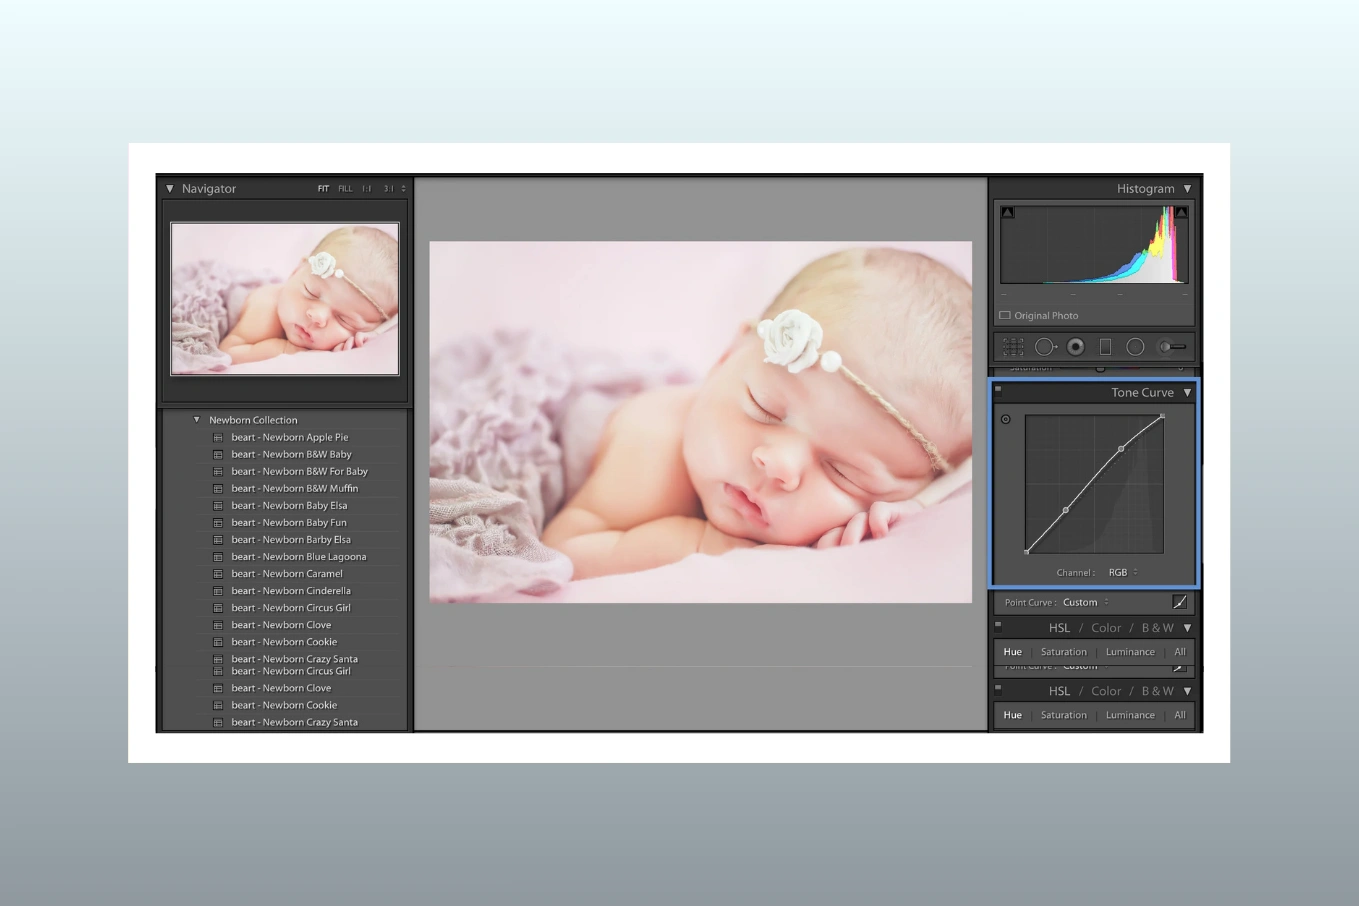
Lightroom is an excellent choice for newborn photo editing because it is designed for gentle, global adjustments rather than heavy pixel-level retouching. Newborn images usually need careful exposure balancing, soft color correction, and light skin smoothing, all of which Lightroom handles beautifully without damaging image quality.
Another major advantage of Lightroom newborn photo editing is speed and consistency. When you photograph a full newborn session, you often edit dozens of images that need to match in tone, warmth, and softness. Lightroom allows you to sync settings across multiple images, saving time while keeping your final gallery visually cohesive.
Most importantly, Lightroom supports a natural editing philosophy. Instead of aggressive retouching, it encourages subtle refinements, which is exactly what newborn photography requires.
Preparing RAW Files for Newborn Photo Editing in Lightroom
Before you begin adjusting skin or color, it is essential to prepare your RAW files correctly. Shooting in RAW format gives you maximum flexibility to recover highlights, adjust white balance, and refine skin tones without degrading the image.
Import and Organize Your Images
Start by importing your RAW files into Lightroom and organizing them into a dedicated folder or collection for the newborn session. This step may seem simple, but good organization helps maintain a smooth workflow, especially when working with multiple clients or large batches.
While importing, apply these basic practices:
- Disable heavy presets during import to avoid extreme contrast or color shifts
- Enable lens profile corrections for accurate geometry
- Apply minimal default sharpening if needed
Choose the Best Base Images
Select images with good focus, gentle lighting, and natural expressions. Lightroom editing works best when the original photo is well-exposed and softly lit, which is common in newborn photography using window light or diffused studio setups.
Step-by-Step Lightroom Workflow for Soft, Natural Newborn Skin
Step 1: White Balance Correction for Natural Skin Tones
White balance is one of the most important steps in newborn photo editing, because incorrect color temperature can make a baby’s skin look too red, yellow, or gray. Newborn skin naturally has variations, including redness or slight blotchiness, so the goal is balance, not perfection.
In the Basic panel:
- Use the White Balance Selector tool on a neutral area, such as a white blanket or diaper
- Adjust Temperature slightly toward warm tones for a cozy, newborn-friendly look
- Fine-tune Tint to reduce excessive magenta or green shifts
A correct white balance creates a strong foundation for all other adjustments and makes newborn skin smoothing much easier later in the workflow.
Step 2: Exposure and Contrast Control
Newborn photos should feel soft and airy, never harsh or overly contrasty. In Lightroom newborn photo editing, exposure and contrast adjustments should be subtle and controlled.
Focus on these sliders:
- Exposure: Adjust just enough to brighten the baby’s face without blowing highlights
- Highlights: Lower highlights gently to protect skin detail
- Shadows: Lift shadows slightly to reveal soft details in blankets and wraps
- Contrast: Keep contrast low to moderate to preserve a dreamy look
Avoid extreme contrast, as it can emphasize skin imperfections and make newborn skin smoothing more difficult.
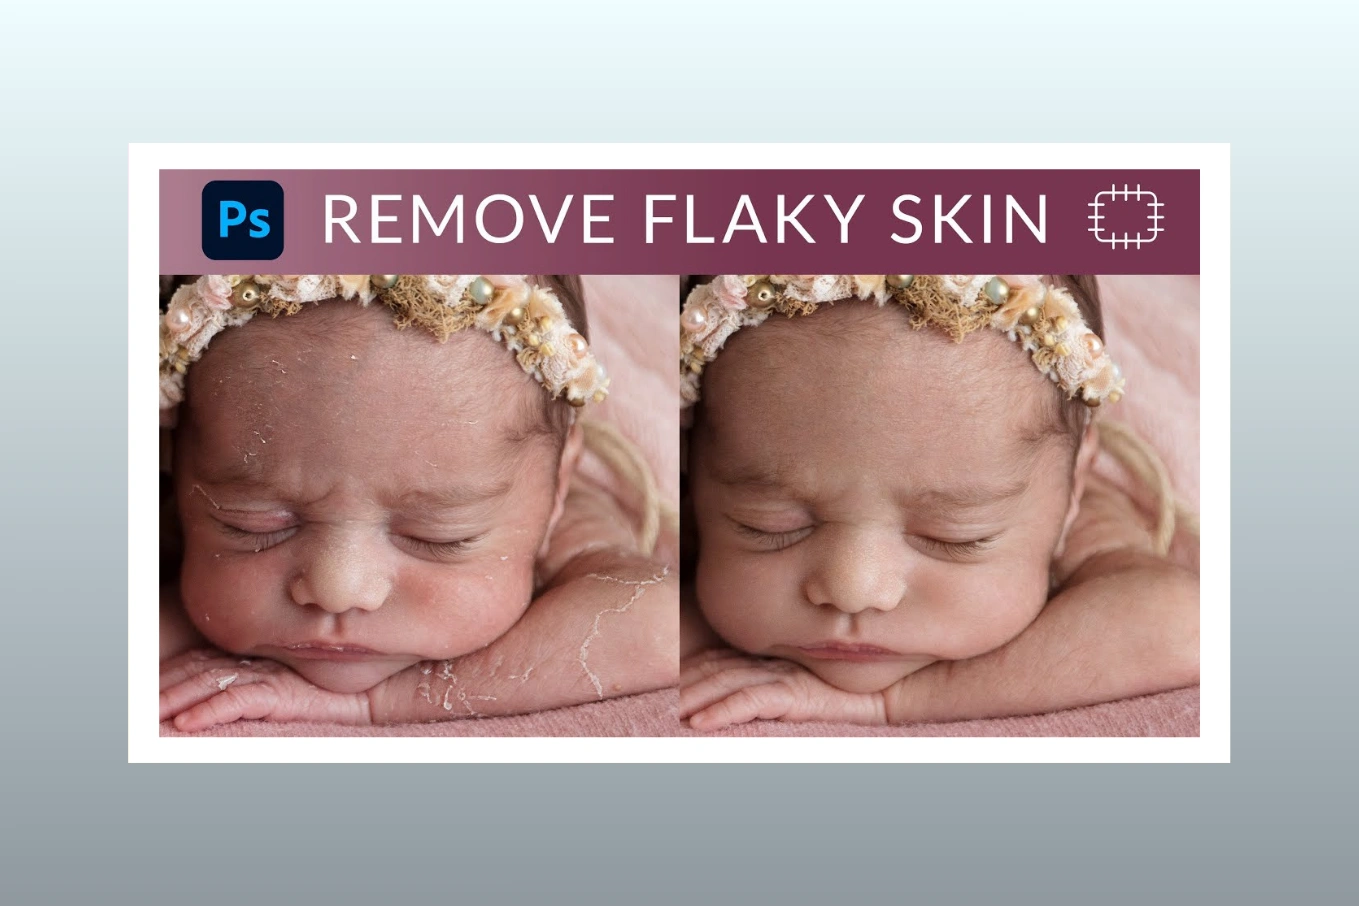
Step 3: Gentle Skin Smoothing Without Losing Texture
One of the most common mistakes in newborn photo editing is over-smoothing the skin. Newborns naturally have flakes, fine lines, and soft texture, which should remain visible after editing.
In Lightroom, skin smoothing should be done carefully using global and local tools:
Use the Texture and Clarity Sliders Wisely
- Reduce Texture slightly to soften skin without blurring details
- Lower Clarity just a bit to reduce harsh edges
- Avoid strong negative values, which can create a plastic look
Use Local Adjustment Tools
For areas with redness or uneven skin:
- Use the Adjustment Brush
- Lower Texture and Clarity minimally
- Reduce Saturation slightly if redness is strong
This approach allows for professional newborn photo retouching while keeping skin natural and believable.
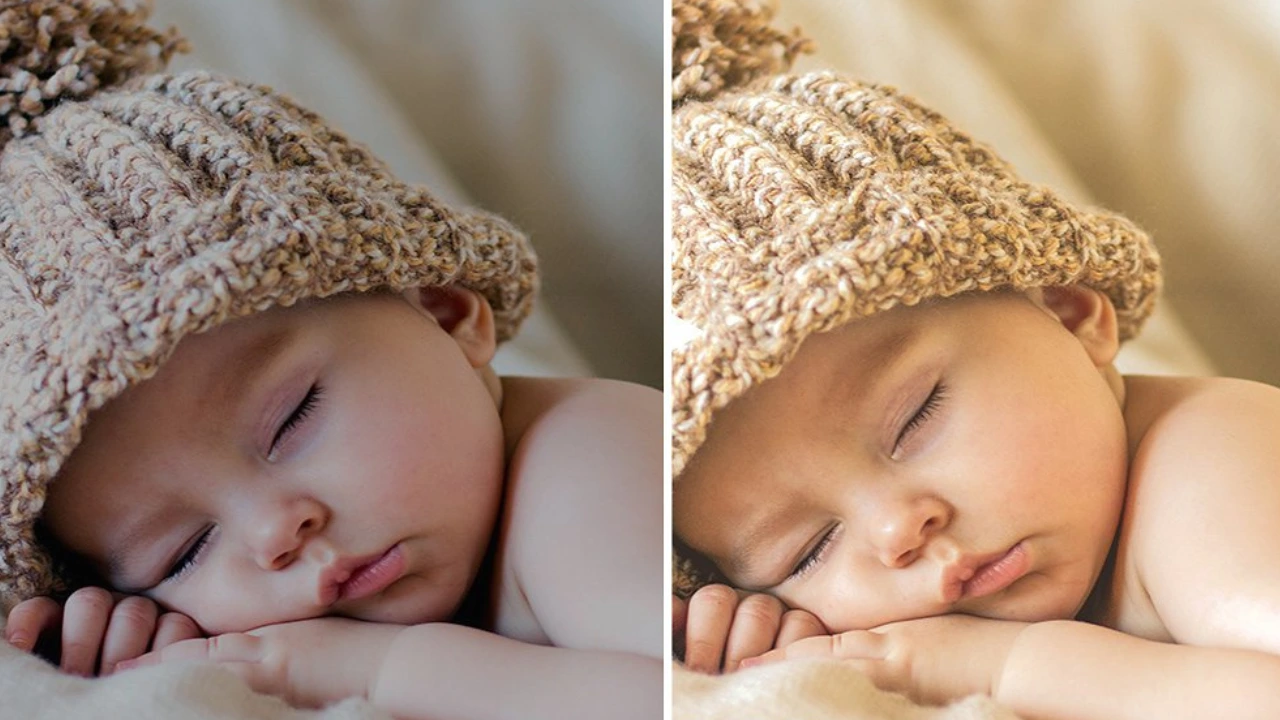
Step 4: Color Correction for Newborn Skin Tones
Newborn skin often shows red, purple, or yellow tones, especially around hands, feet, and cheeks. Lightroom offers excellent color correction tools that help balance these tones gently.
In the HSL panel:
- Reduce Red Saturation slightly to soften flushed areas
- Adjust Orange Luminance to brighten skin naturally
- Be careful not to remove all color, as newborns should still look alive and warm
Color correction should always be subtle, because heavy color changes can make skin look unnatural or lifeless.
Step 5: Noise Reduction and Sharpening Best Practices
Newborn sessions are often shot in soft, low light, which can introduce noise. Lightroom’s noise reduction tools are effective when used carefully.
Noise Reduction Tips
- Apply Luminance Noise Reduction lightly
- Avoid high values that blur skin texture
- Zoom in to check skin detail at 100%
Sharpening Tips
- Apply mild sharpening to eyes, lashes, and lips
- Use the Masking slider to protect smooth skin areas
- Keep sharpening soft to maintain a gentle newborn feel
These steps help deliver clean, professional results without sacrificing softness.
Common Mistakes to Avoid When Editing Newborn Photos
Even experienced photographers can make editing mistakes that affect the final look of newborn images. Being aware of these issues helps improve consistency and quality.
Common mistakes include:
- Over-smoothing skin until texture disappears
- Using heavy presets designed for adult portraits
- Over-saturating colors, especially reds and oranges
- Applying strong contrast that hardens the image
- Ignoring white balance consistency across the gallery
Avoiding these mistakes ensures your newborn photo editing remains timeless and professional.
You might also read this Relevant Resources:
- Cutout Partner: Why Newborn Photo Editing for Photographers
- First Day Photo – Hospital Newborn Photography: Capturing New Life
- 6 Newborn Skin Smoothing Techniques Compared: Editing Newborn Photos
When Photographers Should Outsource Newborn Photo Editing
Editing newborn photos requires patience, attention to detail, and a gentle hand. For photographers managing busy schedules, multiple sessions, or high client expectations, outsourcing can be a practical and creative decision.
Photographers often choose to outsource when:
- Editing time starts affecting shooting schedules
- Consistency across galleries becomes difficult
- Workload increases during peak seasons
- They want a polished, professional editing style
Outsourcing does not replace creative control, but rather supports it by allowing photographers to focus on client experience and photography.
How Cutout Partner Helps Photographers Save Time While Maintaining Natural Results
Cutout Partner is a premium image editing agency serving photographers in the USA and worldwide, with extensive experience in newborn photo editing. Their approach focuses on natural skin tones, soft textures, and realistic retouching that aligns with professional newborn photography standards.
By working with skilled editors who understand newborn skin smoothing and Lightroom-based workflows, photographers can maintain a consistent style while significantly reducing post-production time. The process is designed to feel like an extension of the photographer’s own editing style, rather than a generic outsourced solution.
This balance between efficiency and quality is especially valuable for studios handling large volumes of newborn sessions.
Conclusion: Creating Soft, Timeless Newborn Edits in Lightroom
Editing newborn photos in Lightroom is all about restraint, consistency, and respect for natural beauty. When you focus on correct white balance, gentle exposure adjustments, subtle skin smoothing, and thoughtful photoshop color correction, you create images that feel calm, warm, and emotionally authentic.
Whether you edit every image yourself or choose to work with a professional newborn photo retouching partner, the key is maintaining a natural editing style that highlights the baby without overpowering the moment. By following this step-by-step Lightroom workflow, you can deliver newborn galleries that parents will treasure for years, while building a professional photo editing process that supports both creativity and sustainability in your photography business.
FAQ On How to Edit Newborn Photos in Lightroom
What are the best Lightroom settings for newborn skin?
The best Lightroom settings for newborn skin focus on softness and balance rather than heavy correction. Start with a gentle exposure increase, low contrast, and slightly reduced highlights to protect skin detail. Keep Texture and Clarity adjustments minimal so the skin remains natural. These subtle settings create a clean foundation for professional newborn photo retouching.
How can I smooth newborn skin in Lightroom without losing texture?
Newborn skin smoothing in Lightroom should be done lightly using the Texture and Clarity sliders instead of strong blur effects. Lower Texture slightly and reduce Clarity just enough to soften harsh edges. For specific areas, use the Adjustment Brush rather than global settings. This approach keeps fine skin details visible while improving overall smoothness.
How do I fix red or blotchy newborn skin in Lightroom?
Red or blotchy newborn skin can be corrected using a combination of white balance and HSL adjustments. Slightly reduce red saturation and adjust orange luminance to even out skin tone. Local adjustments work best for cheeks, hands, and feet where redness is strongest. Avoid removing all redness, as newborn skin should still look warm and alive.
Should I edit newborn photos in Lightroom using RAW or JPEG files?
RAW files are strongly recommended when you edit newborn photos in Lightroom. RAW images retain more color and tonal data, making it easier to adjust white balance and skin tones accurately. JPEG files limit editing flexibility and can break down more quickly during skin smoothing. For consistent, professional results, RAW files are the better choice.
Are presets good for Lightroom newborn photo editing?
Presets can be helpful for speeding up Lightroom newborn photo editing, but they should be used as a starting point rather than a final solution. Every newborn has different skin tones and lighting conditions, so manual adjustments are always necessary. Over-reliance on presets can lead to unnatural color or contrast. A balanced workflow combines presets with careful fine-tuning.
How much editing is too much for newborn portraits?
Editing becomes too much when skin texture disappears or colors start to look unnatural. Newborn portraits should feel soft, realistic, and gentle, not overly polished. If the baby’s skin looks plastic or the image loses emotional warmth, it is a sign of over-editing. Professional newborn photo editing always prioritizes subtle enhancement.
What are common mistakes in Lightroom newborn photo editing?
Common mistakes include over-smoothing skin, adding too much contrast, and pushing color saturation too far. Using presets designed for adult portraits can also damage newborn skin tones. Inconsistent white balance across a gallery is another frequent issue. Avoiding these mistakes helps maintain a timeless and professional look.
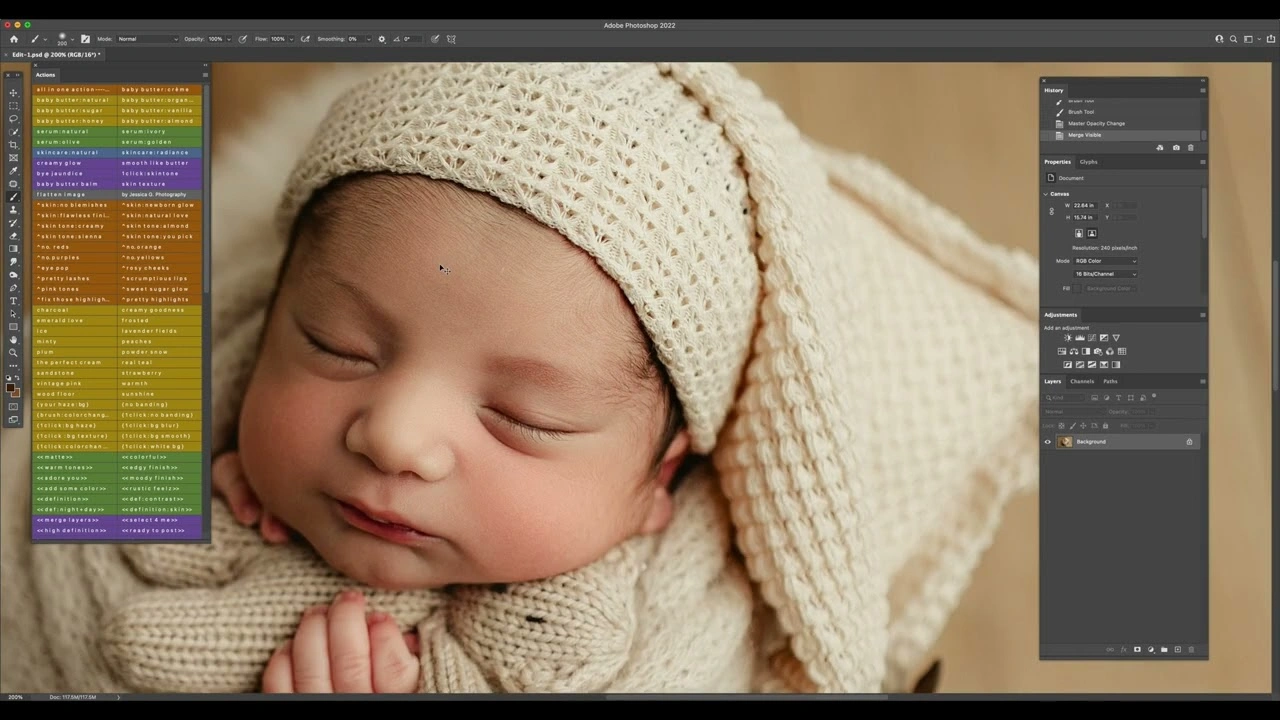
When should I use Photoshop instead of Lightroom for newborn photos?
Lightroom is ideal for global adjustments and basic newborn skin smoothing, but Photoshop is better for detailed retouching. If an image has scratches, severe blemishes, or background distractions, Photoshop offers more precise control. Many professionals use Lightroom for overall editing and Photoshop only when advanced corrections are needed. This combination keeps the workflow efficient and natural.
How long does newborn photo editing usually take?
Newborn photo editing time depends on the number of images and the level of retouching required. A lightly edited image may take just a few minutes, while detailed retouching can take longer. Full newborn galleries often require several hours to complete properly. Efficient Lightroom workflows help reduce editing time without sacrificing quality.
When should photographers outsource newborn photo editing?
Photographers often outsource newborn photo editing when editing time starts to limit shooting or client communication. Outsourcing is also helpful during busy seasons when consistency becomes harder to maintain. Working with experienced editors ensures natural skin tones and a cohesive style. Many studios choose trusted partners like Cutout Partner, a premium photo editing agency serving clients in the USA and worldwide, to maintain quality while saving valuable time.
Can outsourcing still maintain my personal editing style?
Yes, outsourcing can still preserve your personal style when you work with a professional newborn photo retouching team that follows clear guidelines. Providing sample edits and style preferences helps ensure consistency. Agencies experienced in Lightroom newborn photo editing understand how to match tone, softness, and color. This allows photographers to scale their business without losing creative control.
How does Cutout Partner support newborn photographers?
Cutout Partner supports newborn photographers by delivering consistent, natural-looking edits that align with professional standards. Their editors focus on gentle newborn skin smoothing, accurate color correction, and balanced exposure. By handling post-production, they help photographers focus more on shooting and client relationships. This approach is especially valuable for studios managing high workloads.

Share this post


Ready to transform your images?
Elevate your brand with stunning, high-impact visuals. We’ll refine your photos to leave a lasting impression!
Get Started Now!