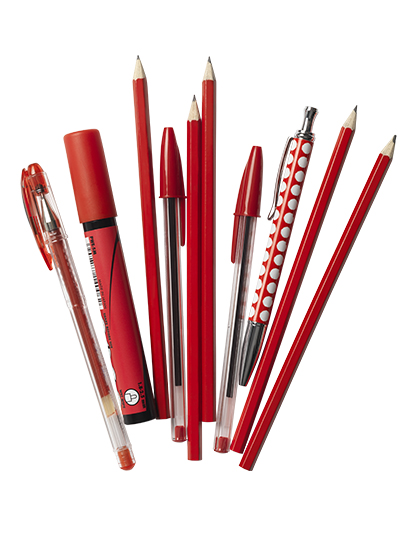
We're Passionate
Take your photos to the next level with professional touch-up.
Our Core Specialties
We are Cutout Partner—your dedicated photo retouching platform for photographers and e-businesses. Our goal is to provide a seamless, high-quality editing experience that enhances your images and strengthens your brand’s authority in the industry.
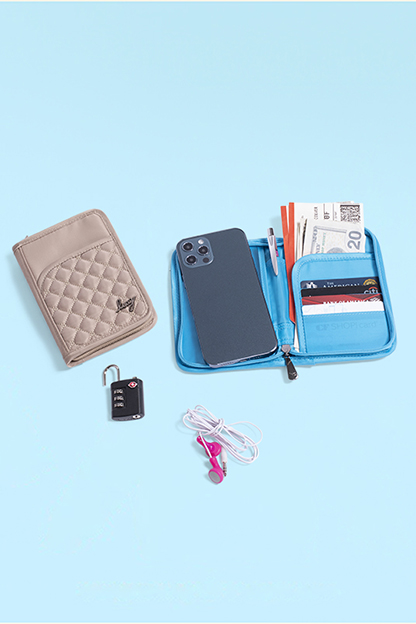
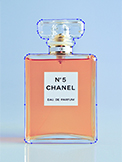
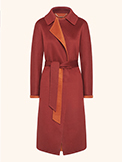
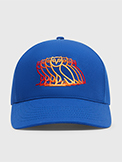
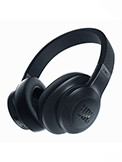
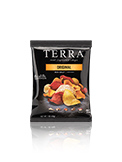
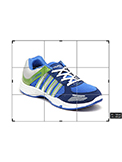
01. Ecommerce Image Editing
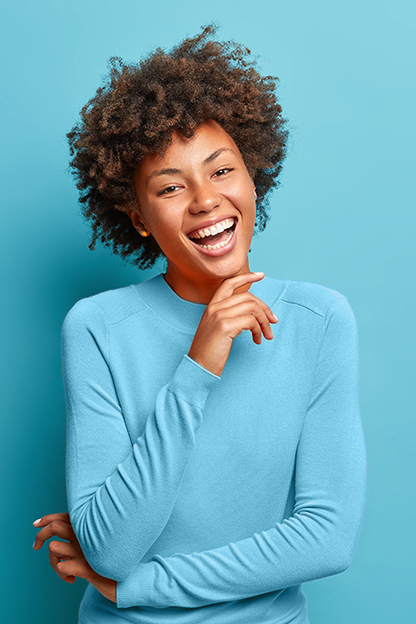
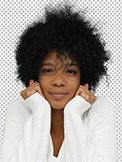
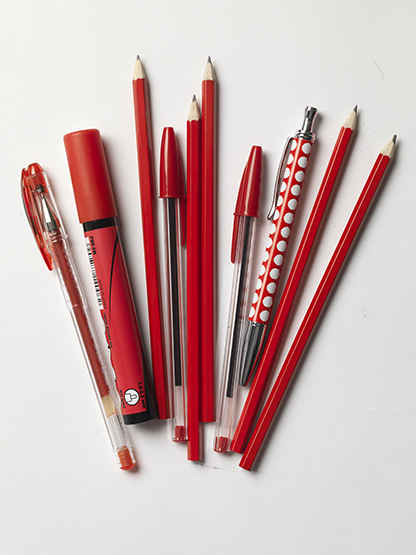
02. Model Photo Retouch
03. HDR/Real Estate Retouch
Our Retouching Services
We provide premium post-production solutions that transform images with exceptional care and detail.

Benefits Of Partnering With Us
Our image editing service can significantly enhance your business operations and outcomes.

Edited By Hand
Pixel Perfect Result
24/7 Support
Clients Testimonial
Some Of Our Respected Happy Client Says

Cutout Partner is always a pleasure to work with and does high quality work with great communication and adherence to deadlines for each job.

Luna Merry
From CanadaThank you so much for everything and got the project done before the deadline!!! Great prices. FULL recommendation.

Kat Ida
From ItalyExcellent work, did everything perfectly as requested. Hope to work again together and would highly recommend it. Thanks

Jason Roy
From SpainMy only wish is that I could give Cutout Partner Team TEN stars, instead of five stars! Thank you for everything! They are truly masters of their craft.

Eva Quin
From USAWhenever I need the job done right... I come to Cutout Partner! They always deliver high-quality work, great communication, are always easy to work with and fast delivery.

Mike Doe
From United KingdomIt is my pleasure to work with Cutout Partner. Very quick response time- sometimes within minutes!!!

Thomas Beek
From GermanyTry Our Photo Editing Services Completely Free!
We're happy to offer you a free trial of our services before you commit to work with us. To get started, simply upload your image and our team will complete the job as soon as possible. Check how much you can trust us!
- Enhanced Efficiency
- Cost-Effectiveness
- Fast Turnaround Times
How it Works
Get flawless results with our retouching service in just 3 simple steps.
Order Your Edits
Upload your images with your instructions and receive a clear, budget friendly price quote—fast and hassle free.
Touch Up
We allocate the finest editors to ensure the highest quality and timely completion of the project.
Download
When the project is done, we will notify you including the download link.
Frquently Asked Questions
Find Answers to Common Questions

Ready to transform your images?
Elevate your brand with stunning, high-impact visuals. We’ll refine your photos to leave a lasting impression!
Get Started Now!