How to Pose for Feet Pictures Like a Pro Photographer
Cutout Partner
January 15, 2026
0 views
Feet photography is a specialized but increasingly popular niche within the broader world of photography, and when done correctly, it can look artistic, polished, and professional rather than awkward or unbalanced. Many beginners assume that photographing feet is simple because the subject is small, but professional photographers know that foot posing requires careful attention to angles, lighting, composition, and posture in order to create visually appealing results. Whether you are capturing feet for fashion, lifestyle, product displays, editorial content, or creative portfolios, learning how to pose feet properly will dramatically improve the quality of your images and help them stand out.

A foot pose not turning out as expected? No worries at all. With the right guidance, foot photography can be both simple and rewarding. Today, foot photos are not only used for modeling but have also become a popular way to earn passive income. Feet have unique visual appeal—the arches, curves, soles, toes, skin texture, calf shape, and even natural lines all contribute to a striking image. When your feet or legs appear more attractive and well-posed in photos, your visibility and demand naturally increase. And with high-quality, well-styled foot photography, you can confidently set higher prices for your work.
This guide explains everything you need to know about posing for feet pictures like a professional photographer, using clear language and practical explanations so that even beginners can follow along confidently.
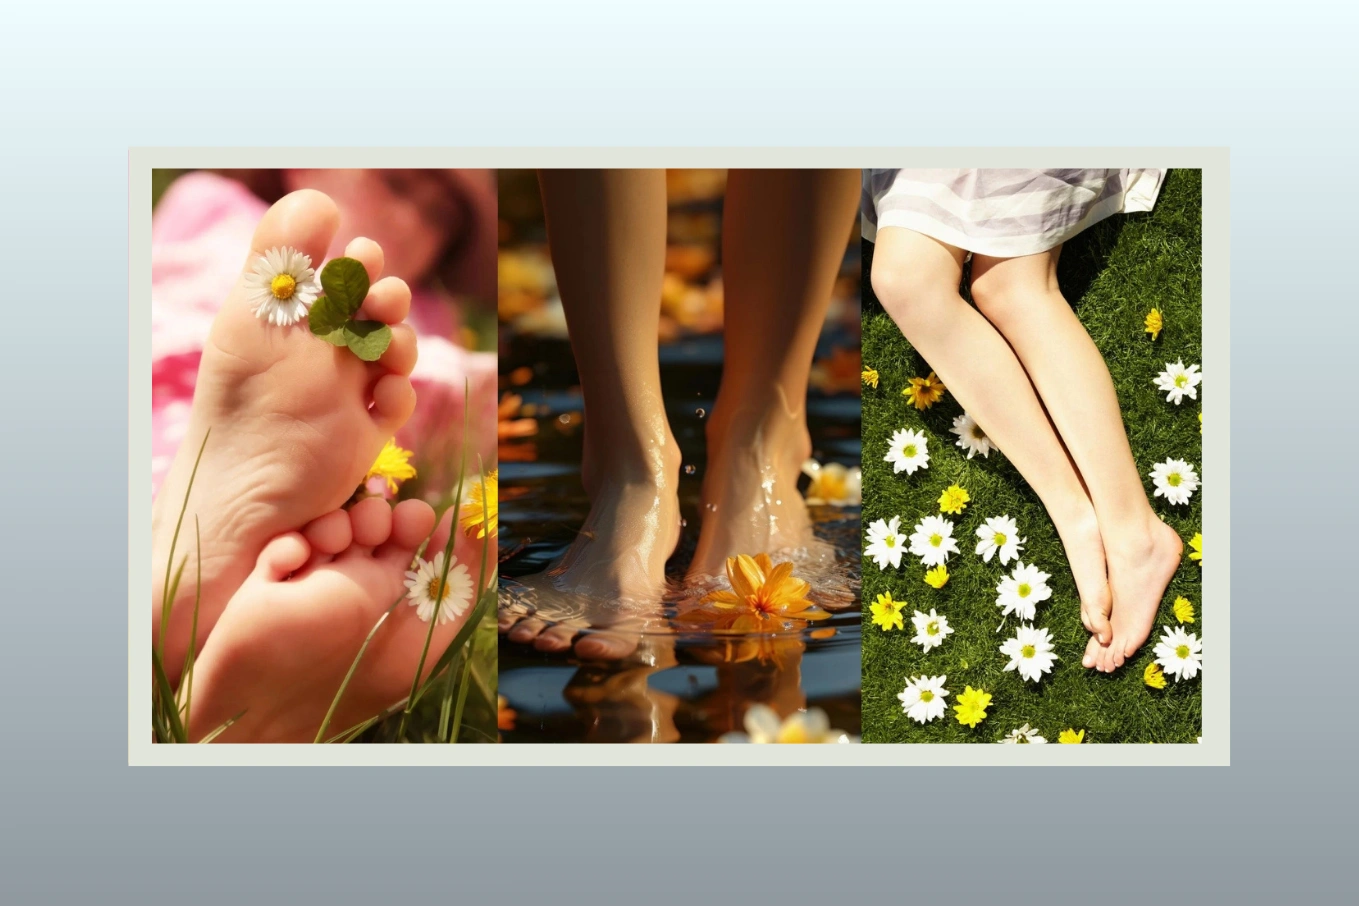
Understanding the Purpose of Feet Photography with Flowers

Before thinking about poses, it is important to understand why feet photography exists and how intention affects the final image. Feet images are commonly used in footwear advertising, lifestyle branding, beauty campaigns, yoga and wellness content, editorial photography, and artistic projects, and each purpose requires a slightly different approach. When the goal is fashion or product photography, the pose must highlight shoes or accessories clearly without distracting elements, whereas lifestyle or editorial feet photography focuses more on mood, story, and environment.
Professional photographers always begin by defining the purpose of the photo because that decision influences posing choices, camera angles, lighting style, and even background selection. When you know what the image is meant to communicate, posing becomes easier and more intentional rather than random.
Preparing Feet for a Professional Photo Session with beauty

Preparation plays a major role in how professional feet pictures turn out, because even the best pose can look unpolished if basic details are ignored. Clean and well-maintained feet create a strong foundation for photography, and this includes trimming nails, moisturizing skin lightly to avoid dryness, and ensuring there are no visible distractions such as lint, marks, or uneven tones. Professional photographers often recommend avoiding excessive oils or heavy creams right before shooting because they can create unwanted shine under lighting.
Equally important is posture and relaxation, because tension in the legs or toes can make feet appear stiff and unnatural in photos. Taking a few moments to stretch the feet and ankles before shooting helps improve flexibility and creates smoother, more elegant lines during posing.
The Importance of Angles in Feet Photography

Angles are one of the most critical elements in feet photography, because the way the foot is positioned in relation to the camera determines how it appears in the final image. Shooting straight down from above often flattens the foot and removes depth, which is why professional photographers usually prefer angled perspectives that create dimension and visual flow.
A slight diagonal angle often works best because it elongates the foot and adds a natural curve, while side angles can emphasize arches and contours when done carefully. Experimenting with different camera heights and foot orientations helps identify the most flattering angle for each individual, and professionals rarely rely on a single viewpoint when capturing feet images.
Nail Polish & Nail Art

Applying nail polish or creating nail art can instantly enhance the appearance of your feet in photos. Beautifully designed nails add color, style, and personality, making your feet look more attractive and eye-catching. This approach is popular not only in the beauty and fashion industries but also among foot photography enthusiasts who appreciate well-groomed and styled feet. Nail art allows you to highlight creativity while making your foot photos stand out.
How Foot Position Affects Visual Appeal
Foot positioning is not just about where the foot is placed but also about how the toes, arch, and ankle are aligned. Pointed toes tend to create a longer and more elegant appearance, while relaxed toes offer a natural and casual look that works well for lifestyle photography. Flexing the foot too much can make it look tense, so professional photographers aim for a balance between extension and relaxation.
Crossing one foot slightly over the other can add depth and interest to the frame, while placing feet parallel can work well for symmetrical compositions or product-focused shots. Small adjustments in positioning often make a big difference, which is why professionals take time to refine poses rather than rushing through them.
Using Body Posture to Enhance Feet Poses
Even though the focus is on feet, the rest of the body still matters because posture influences how feet appear in the frame. Sitting, standing, reclining, or walking all create different effects, and each posture brings unique posing opportunities. When standing, distributing weight evenly prevents unnatural tension, while shifting weight slightly onto one leg can create a more dynamic and relaxed pose.
For seated poses, extending the legs forward at a slight angle often looks more natural than bending them sharply, while reclining poses benefit from gentle bends at the knees to avoid stiffness. Professional photographers pay attention to the entire body line because feet are connected to the legs, and harmony between these elements creates a more polished image.
Mastering Beauty and Dynamic Feet Poses

Static poses can look stiff if they lack movement or flow, which is why professional feet photography often incorporates subtle motion. Walking poses, gentle toe lifts, or relaxed foot placement against surfaces can create a sense of life and realism in the image. Even small movements, such as shifting weight or adjusting toe placement, help capture more natural and engaging photos.
Dynamic posing does not mean exaggerated motion but rather controlled and thoughtful adjustments that prevent the image from feeling frozen. Many photographers encourage slow movements during shooting so they can capture in-between moments that look effortless and authentic.
Choosing the Right Surface Creative Feet Photo Ideas

The surface beneath the feet plays a major role in the overall look of the photo, and professionals carefully select backgrounds that complement rather than distract. Neutral surfaces such as wood floors, stone, sand, or fabric provide texture without overwhelming the subject, while outdoor environments like grass or pavement can add context and mood.
It is important to ensure the surface is clean and visually consistent because cluttered or uneven backgrounds can draw attention away from the feet. Professional photographers often test multiple surfaces during a shoot to find the one that enhances the pose and lighting most effectively.
Lighting Techniques for Professional Feet Photography
Lighting is one of the most powerful tools in photography, and feet images are no exception. Soft, diffused light is generally preferred because it reduces harsh shadows and highlights textures smoothly. Natural window light works especially well for feet photography, as it creates gentle contrast and a realistic look.
When using artificial lighting, professionals often position lights at an angle rather than directly overhead to emphasize shape and dimension. Avoiding harsh direct light prevents overexposure and keeps skin tones even, which is essential for professional results.
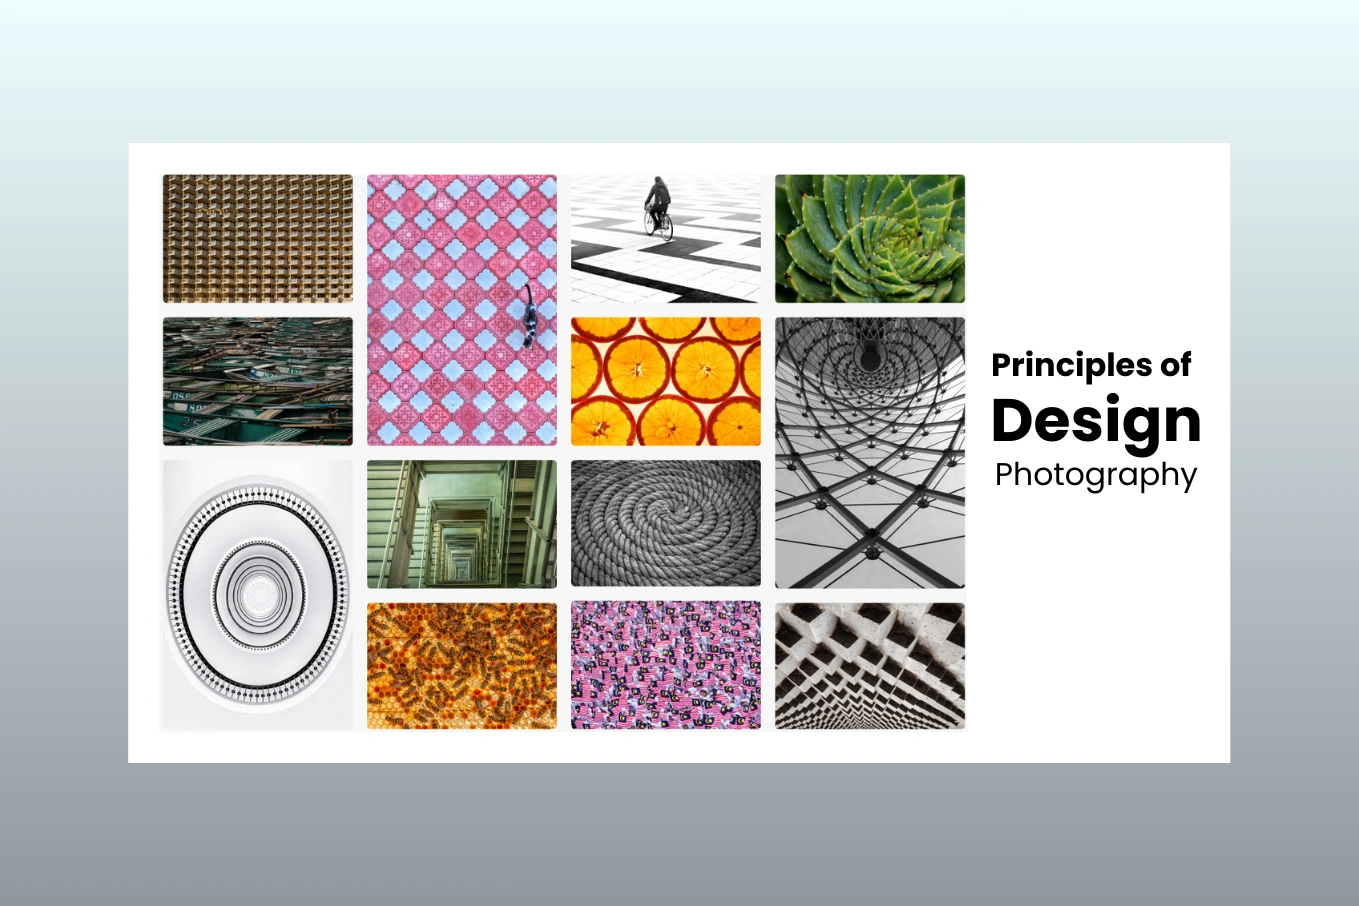
Composition and Framing Tips
Composition determines how the viewer’s eye moves through the image, and professional feet photography uses framing techniques that guide attention naturally. Leaving space around the feet prevents a cramped look, while positioning feet along diagonal lines creates visual interest. The rule of thirds can also be applied by placing feet slightly off center, which often feels more balanced and engaging.
Cropping should be done thoughtfully, ensuring that cuts do not occur at awkward points like ankles or toes unless intentionally styled. Professional photographers always review framing carefully because small composition mistakes can weaken an otherwise strong image.
Styling Choices That Support Professional Posing
Styling plays a supportive role in feet photography, and simple choices often work best. Neutral nail colors, minimal accessories, and clean surroundings help keep attention on the pose and form of the feet. If footwear is involved, ensuring shoes fit well and are positioned cleanly prevents distractions.
Fabric elements such as blankets, mats, or clothing edges can add softness and context when used sparingly. Professional photographers aim for styling that enhances the pose rather than competing with it.
Common Mistakes to Avoid When Posing Feet
Many beginners make the mistake of forcing poses or ignoring comfort, which often results in unnatural images. Over-pointing toes, excessive tension, poor lighting, or cluttered backgrounds are common issues that reduce image quality. Another frequent mistake is failing to review photos during the shoot, which prevents timely adjustments.
Professional photographers regularly check images on the camera screen and make small corrections to pose, angle, or lighting to ensure consistent improvement throughout the session.
Practicing and Refining Your Skills
Like any photography skill, posing feet professionally improves with practice and observation. Studying high-quality images from fashion editorials, product campaigns, and professional portfolios helps develop an eye for effective poses and composition. Practicing in different environments and lighting conditions builds confidence and versatility.
Taking time to analyze what works and what does not in each shoot allows continuous growth, which is why professionals treat every session as both a creative project and a learning opportunity.
How to Pose for Feet Pictures – Creating Feet Photos That Perform Well
To create effective feet pictures, the first step is understanding your audience and staying focused on your goal. Feet photos are widely used for promoting products such as shoes, foot accessories, skincare items, pedicure services, and nail art designs. Beyond commercial use, there is also a large community of people who enjoy viewing and collecting artistic feet photographs. They appreciate visual details like toes, toenails, natural curves, skin texture, arches, soles, and unique styling variations. Because preferences vary, it’s important to explore different poses based on what viewers respond to most.
How to Take Feet Pictures – Experiment With Multiple Poses
One of the best ways to improve your feet photography is by observing how other photographers approach their shots. Study competitors’ work to understand posing styles, angles, and compositions that stand out. Notice which poses look most appealing and professional. These feet picture ideas can help you plan your own shoots more effectively and develop a style that feels confident and polished.
Crossing the Ankles
Crossing the ankles while extending the feet helps create an elegant and effortlessly relaxed appearance that feels natural and visually pleasing. This positioning produces a smooth, balanced look that highlights shape and flow without appearing forced, making it a popular choice in feet photography. The pose adapts well to a wide range of shooting angles and works equally well whether the feet are bare or styled with sandals, offering flexibility and consistency in different settings.
Take Good Foot Care of Your Feet

This might sound basic, but it is the most essential element of creating a strong foot photograph. In this context, your feet are the main focus of the image, so they should appear natural, well cared for, and smooth. When feet look healthy and clean, the overall photo instantly feels more polished and professional.
To maintain attractive and well-groomed feet, it is worth investing in proper foot care products such as scrubs, masks, and foot files. Consistent hygiene habits also matter, including keeping toenails neat and allowing yourself an occasional pedicure, whether at home or with a professional. These small routines help ensure your feet are always ready for the camera and look their best from every angle.
To keep your feet photo-ready and maintain flattering posing angles, follow these five important care steps.
Foot cleanliness
Clean feet are the foundation of a good photo. Wash them thoroughly every day, making sure to clean between the toes where dirt and moisture can build up. Drying them properly is just as important, as excess moisture can lead to skin issues that affect appearance.
Regular pedicure care with Feet Photos

Well-maintained nails make a noticeable difference in photos. Trim and shape your toenails consistently, and keep cuticles tidy. Whether you prefer doing this at home or visiting a professional, regular pedicure care helps achieve a clean and refined look.
Daily moisturizing
Rough or cracked skin can easily distract in close-up images. Applying a nourishing foot cream or lotion every day helps keep the skin soft and smooth. Pay extra attention to areas like the heels, which tend to dry out more quickly, so your feet appear healthy and well hydrated.
Exfoliation with masks or scrubs
Removing dead skin is essential for maintaining an even texture. Using foot masks or gentle scrubs on a regular basis helps smooth rough patches and reveals fresher-looking skin, giving your feet a brighter and more polished appearance.
Foot-strengthening exercises
Tone and flexibility also influence how feet look in photos. Simple movements such as toe stretches, ankle rotations, or arch lifts help maintain strength and shape, making it easier to pose naturally and comfortably during a shoot.
1. Soft Pointed Toe Feet Poses

Gently extending your toes helps create a longer, smoother appearance for your feet. This pose naturally enhances clean lines and works best in soft indoor lighting. It’s a simple position that highlights the natural form of the foot without needing props or complicated styling.
2. Raised Heel Arch Pose
Slightly lifting your heel allows the arch to become more visible and defined. This pose is widely used because it clearly shows foot structure in an effortless way. It’s especially effective for side angles or close-up shots where shape and curves are the main focus.
3. Relaxed Crossed Feet Pose
Crossing your feet lightly at the ankles creates a calm and effortless look. This pose is beginner-friendly and gives a natural, relaxed feel to the photo. It pairs well with soft surfaces like blankets, rugs, or simple indoor floor settings.
4. Feet Elevated on Wall or Cushion

Lying down and resting your feet against a wall or pillow adds a fun and casual mood to the image. This pose works best with natural window light and gives your photos a cozy, laid-back atmosphere that feels comfortable and inviting.
5. Gentle Tiptoe Standing Pose
Standing softly on your toes helps create a lifted arch and elongates the overall foot shape. This pose looks strong yet clean and is often used for professional or paid shoots because it enhances curves and presents a well-balanced structure.
6. Detailed Toe Focus Shot
Slightly spreading the toes allows for a clear view of natural details and texture. This close-up pose gives a realistic look and helps highlight elements like nail grooming, skin tone, and toe spacing while keeping the lighting soft and even.
7. One Foot Forward Pose
Place one foot slightly ahead of the other to create depth and dimension in the photo. This pose looks natural and balanced, making it ideal for standing shots. It helps show both feet clearly while keeping the overall composition clean and visually pleasing.
8. Seated Feet Extension Pose
Sit comfortably and extend your legs forward with relaxed feet. This pose gives a soft, casual appearance and works well for indoor photography. It allows the camera to capture natural curves without tension, especially when paired with gentle lighting.
9. Side Angle Foot Profile
Turn your feet slightly to the side to highlight their profile. This angle helps emphasize shape, arches, and length in a subtle way. It’s a great option when you want a minimal, elegant look without overposing.
10. Barefoot Walking Pose
Capture your feet mid-step while walking slowly. This pose adds movement and creates a lifestyle feel rather than a static image. It works especially well outdoors on clean surfaces like sand, grass, or smooth pavement.
11. Ankles Together Relaxed Pose
Bring your ankles together while keeping your feet relaxed and natural. This pose gives a neat, symmetrical look and is ideal for top-down shots. It’s simple, calm, and perfect for beginners learning basic positioning.
12. Feet Resting on a Soft Surface
Place your feet on a soft surface like a rug, bed, or cushion to create a warm and cozy mood. This pose feels comfortable and natural, helping the feet look relaxed while adding texture to the background.
13. Heels Down Relaxed Pose
Place your heels flat on the ground and let your feet rest naturally. This pose gives a grounded, realistic look that works well for lifestyle or casual photography. It’s ideal for clean backgrounds and soft lighting.
14. Overlapping Toes Pose
Gently overlap one foot over the other so the toes slightly cross. This creates a soft sense of depth and looks natural without being stiff. It works well for close-up shots where balance and simplicity matter.
15. Feet on Tip of Toes (Seated)
While seated, point your toes lightly as if stretching. This pose highlights smooth lines and keeps the feet relaxed. It’s especially useful for indoor shoots where comfort and posture are important.
16. Natural Curl Toe Pose
Allow your toes to curl slightly in a relaxed way rather than forcing a stretch. This adds a realistic feel and shows natural movement. It’s a good option for candid-style shots.
17. Feet on Edge of Chair or Bed
Rest your feet on the edge of a chair or bed to create a casual framing. This pose works well in indoor setups and gives a cozy, everyday look that feels approachable and calm.
18. One Foot Lifted Back Pose
Keep one foot flat on the ground while lifting the other slightly behind. This adds visual interest and creates a soft curve. It’s a simple way to avoid flat-looking compositions.
19. Toes Facing the Camera Pose
Angle your feet so the toes face directly toward the camera. This pose is useful for symmetrical shots and works well with even lighting. It keeps the focus clean and centered.
20. Angled Feet With Shadow Play
Position your feet at an angle and use natural light to create gentle shadows. This adds depth without clutter. It’s great for minimal, artistic photography styles.
21. Feet on Natural Surface Pose
Place your feet on a natural surface like wood, stone, or grass. This pose adds texture and context while keeping the focus on the feet. It’s perfect for outdoor or lifestyle shots.
22. Relaxed Heel Lift Pose
Lift one heel slightly while keeping the toes grounded. This highlights the arch subtly and creates a gentle curve. It’s easy to hold and works well for side-angle shots.
23. Feet Together, Toes Relaxed
Keep your feet close together with relaxed toes. This pose looks neat and balanced, making it ideal for top-down or centered compositions. It’s simple and beginner-friendly.
24. Seated Crossed Ankles Pose
Sit down and cross your ankles loosely. This creates a soft, comfortable look that feels natural. It pairs well with neutral backgrounds and soft fabrics.
25. Minimal Movement Stretch Pose
Stretch your feet slightly as if waking up or relaxing. This adds a subtle sense of motion and keeps the image from feeling stiff. It works best with warm lighting and simple surroundings.
26. Side-Lying Feet Pose
Lie on your side and extend your legs naturally. This pose adds depth and creates a relaxed, intimate look without appearing forced. It works well with soft pillows, rugs, or natural light from a window.
27. Foot on Tip of Step Pose
Place one foot on the edge of a small step or platform while keeping the other foot flat. This creates dynamic angles, highlights arches, and adds a sense of motion and dimension to the photo.
28. Feet in Motion Pose
Walk, sway, or gently shift your weight to capture movement. Motion adds life and energy to your shots, making them look natural and engaging for lifestyle or product photography.
29. Wrapped Blanket or Fabric Pose
Wrap a soft blanket or fabric around the feet for texture and context. This pose adds warmth, coziness, and subtle elegance, ideal for indoor lifestyle or seasonal photoshoots.
30. Mirror Reflection Pose
Use a mirror to capture your feet from above or the side with reflection. This creates artistic compositions and emphasizes symmetry, making your photos look more professional and creative.
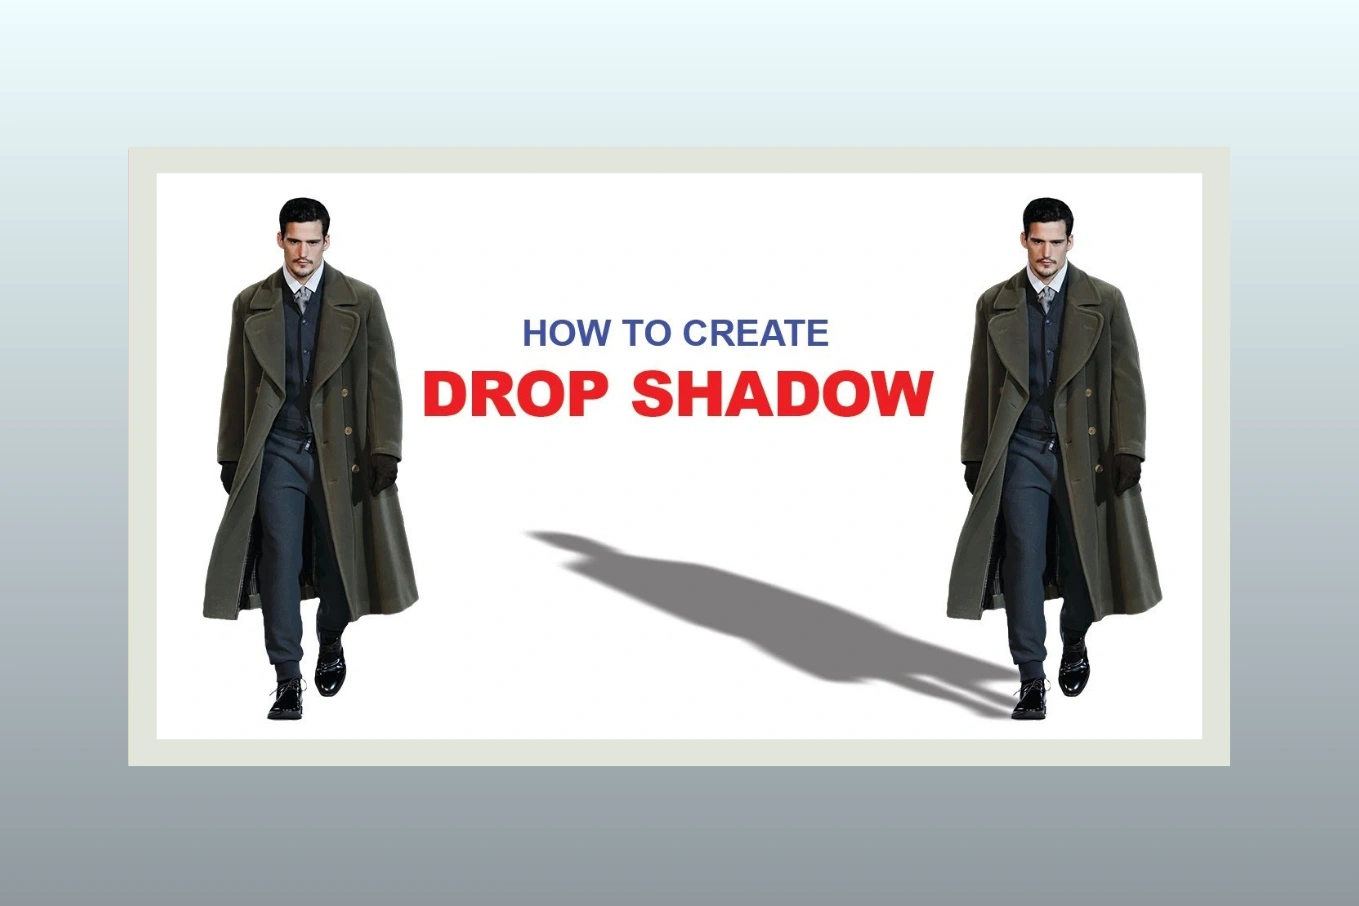
31. Shadow Silhouette Pose
Position your feet so the light creates interesting shadows on a plain surface. This adds an artistic edge and makes your photos stand out, especially in minimalist or monochrome setups.
32. Props Integration Pose
Incorporate simple props like flowers, books, or small rugs under or around your feet. Props give context and visual interest while keeping the focus on the feet. This is perfect for product-based or lifestyle imagery.
33. Feet Peeking from Under a Blanket
Let your feet peek playfully from under a blanket or sheet. This creates a cozy, intimate look and works especially well for indoor lifestyle or product shots. It adds personality without requiring complicated angles.
34. One Foot Slightly Bent Pose
Bend one knee lightly while keeping the other straight. This creates natural curves, highlights the arch, and adds depth to seated or floor-based compositions.
35. Feet on a Swing or Chair Edge
Rest your feet on a swing, stool, or chair edge to create casual, elevated shots. This adds playful structure and makes the pose look relaxed yet interesting.
36. Parallel Feet Pose
Keep both feet parallel and close together while maintaining relaxed toes. This creates a clean, symmetrical look ideal for top-down or minimalist product photography.
37. Foot Over Foot Pose
Stack one foot lightly over the other to show natural overlap and curvature. This works well for angles that emphasize arches and toes, adding a subtle 3D effect.
38. Extended Legs With Slight Cross
Stretch your legs out and cross them slightly at the ankles. This is elegant and elongated, perfect for fashion-oriented shots where leg and foot lines matter.
39. Feet on Stairs or Steps
Position your feet on steps to play with angles and levels. This gives a dynamic sense of depth and perspective while showing arches and toes clearly.
40. Casual Side Rest Pose
Rest your feet on their sides while lying or seated. This pose looks effortless and relaxed, creating a lifestyle vibe for indoor photography.
41. Curved Toe Pose
Lightly curl the toes for a natural, soft look. This pose is subtle yet adds realism and texture, making the photo feel approachable and organic.
42. Feet Framed by Objects
Frame the feet with books, cushions, rugs, or other props to create depth and context. Framing adds artistic structure while keeping the focus on the feet themselves.
43. Outdoor Ground Pose
Place your feet on natural surfaces like sand, grass, or stone. This connects the feet to an environment, creating lifestyle appeal while highlighting textures and shadows.
44. Feet Leaning on Each Other
Lean one foot gently against the other while seated. This pose creates a natural curve, adds symmetry, and works well for casual or product-focused shots.
45. Close-Up Arch Focus
Take a close-up emphasizing the arch line. This is perfect for professional or commercial foot photography where shape and structure are the focus.
46. Diagonal Angle Pose
Position your feet diagonally toward the camera rather than straight-on. This adds depth, visual interest, and a more dynamic composition.
47. Feet in Light Rays
Use rays of sunlight or soft indoor light to highlight feet. Light patterns can enhance texture, skin tone, and natural curves for visually striking photos.
48. Toes on Edge Pose
Rest the toes on a slightly elevated surface, keeping heels down. This pose is ideal for creating subtle arch definition and adding structure without overposing.
49. Minimalist Background Pose
Shoot feet against a clean, blank background to make them the sole focus. Minimalism emphasizes shape, texture, and form, making the image professional and polished.
50. Feet in Motion Blur
Gently move the feet while capturing a slight motion blur. This adds energy and a lifestyle feel, especially for outdoor or casual shots.
How Cutout Partner Perfectly Edits Your Feet Photos for Flawless, Professional Results
Feet photography is an art that requires precision, attention to detail, and professional editing to truly shine. Whether for social media, product promotion, or personal portfolios, having perfectly edited feet photos can make all the difference. Cutout Partner specializes in enhancing feet images with flawless editing techniques, ensuring that each photo looks polished, natural, and visually appealing. Their process combines advanced tools with a meticulous eye for detail, transforming ordinary shots into professional-quality images.
One of the most important steps in the editing process is Professional background removal and refinement. A clean and distraction-free background ensures that the focus remains entirely on the feet, making the image appear sharp and professional. This is especially essential for footwear photography, pedicure showcases, and lifestyle content, where every detail matters.
Another crucial element is Beauty skin correction and enhancement. Cutout Partner removes imperfections like dryness, rough patches, discoloration, and minor blemishes while maintaining the natural texture of the skin. The goal is to make feet look healthy, soft, and naturally attractive without over-editing or creating an artificial appearance.
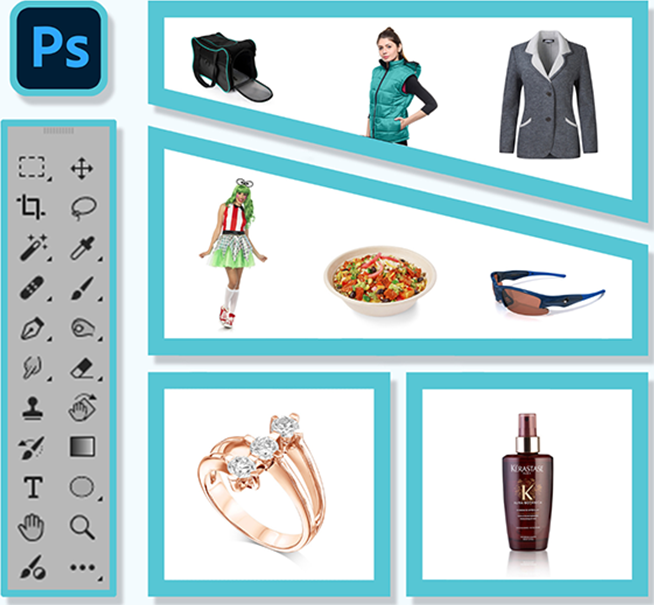
Photoshop Color correction and tone adjustment is another step that ensures your feet photos look vibrant and professional. By balancing contrast, lighting, and color tones, the editors enhance skin consistency, highlight toes and nails, and create a more visually appealing composition. Nail polish and accessories are also color-corrected to look realistic and striking.
Cutout Partner also pays attention to small but impactful details. They refine arches, toes, and foot positioning to enhance symmetry and harmony in the photo. These subtle adjustments help maintain natural proportions while making the feet look polished and camera-ready.
Additionally, creative enhancements are applied selectively to elevate the overall aesthetics of the photo. This includes adding soft shadows, gentle reflections, and stylistic backgrounds that complement the feet without distracting from the main subject. These enhancements help create a professional and visually striking final image.
Finally, every image undergoes a quality assurance review. This ensures consistency, sharpness, and visual appeal before delivery, allowing clients to receive perfectly edited feet photos that are ready for any professional use.
Here is a summary of the key photoshop editing services Cutout Partner provides for feet photos:
- Background Removal and Refinement: Creates clean, distraction-free images with smooth edges.
- Skin Correction and Enhancement: Removes dryness, roughness, blemishes, and uneven tones while maintaining natural texture.
- Color Correction and Tone Adjustment: Balances lighting, contrast, and colors for polished, vibrant results.
- Detailed Retouching: Refines arches, toes, and foot positioning for symmetry and natural elegance.
- Creative Enhancements: Adds soft shadows, reflections, or background improvements to elevate aesthetics.
- Quality Assurance: Every image is reviewed for sharpness, consistency, and professional appeal.
By combining these techniques, Cutout Partner is a premium photo retouching companyensures that each feet photo is camera-ready, professional, and visually stunning, making it an ideal choice for models, influencers, and content creators who want flawless results without compromising natural beauty. With their services, your feet images are transformed into polished works of art that captivate viewers and meet the highest standards of professional photography.
You might also read this article
- Best & Affordable Clipping Path Service Provider
- How to Choose the Best Photo Retouching Company
- Photoshop Services Near Me: Why Choose Cutout Partner
Final Thoughts on Posing Feet Like a Professional
Posing for feet pictures like a professional photographer requires patience, attention to detail, and a clear understanding of how angles, lighting, posture, and environment work together. When feet are posed thoughtfully and photographed with intention, the result is images that feel polished, balanced, and visually appealing rather than awkward or unplanned.
FAQ: How to Pose for Feet Pictures Like a Pro Photographer
What’s the most important thing to focus on when posing feet?
The key is making your feet look natural, clean, and soft. Pay attention to foot hygiene, nail grooming, and smooth skin. Well-maintained feet are the foundation of a professional-looking shot.
How should I position my toes for a flattering pose?
Pointed toes tend to elongate the foot and create a graceful look, while slightly flexed toes can show the arch. Experiment with both depending on whether you want a relaxed or elegant vibe.
Should my feet be flat or on tiptoe?
Both can work. Flat feet give a grounded, casual feel, while tiptoe or heel-lift poses accentuate arches and leg lines, giving a more professional, aesthetic look.
How do I make my arches look more prominent?
Flex your feet and gently lift your heels. This naturally enhances the curve of the arch. Using props like soft surfaces or elevated platforms can also help show off the arch without strain.
How can I create dynamic angles for my foot photos?
Try shooting from above, side angles, or slightly low angles to highlight shape and depth. Tilting your foot or crossing one over the other can add visual interest.
Should I include props or just focus on my feet?
Both options are valid. Minimal props like a rug, sand, or water can add context, while simple shots keep the attention entirely on your feet. Avoid clutter that distracts from the main subject.
How do I pose feet naturally while sitting?
Bend your knees slightly and rest one foot lightly on the other or on your toes. Relax your feet, avoid stiffness, and play with subtle angles to make the pose look effortless.
What about standing poses?
Shift your weight to one leg, point one foot slightly forward, or cross ankles subtly. This creates natural curves and prevents a flat or rigid appearance.
How important is lighting for feet photography?
Very important! Soft, natural light highlights skin texture and prevents harsh shadows. Side lighting can emphasize arches and curves, while backlighting adds a gentle glow.
How can I make my feet look good without editing?
Regular care is key: moisturize, exfoliate, and keep nails neat. For posing, relax your muscles, elongate your feet, and experiment with angles to naturally highlight their beauty.
Are barefoot or socked feet photos better?
Barefoot shows natural foot shape and skin texture, which is ideal for professional-style shots. Socks or shoes can work for creative or lifestyle themes but may hide foot features.
Can I pose my feet on uneven surfaces?
Yes! Uneven surfaces like stairs, sand, or cushions create interesting angles and depth. Just make sure your feet are safe and stable while posing.
How do professional photographers guide foot poses?
They often adjust toes, arches, and angles subtly while giving relaxed directions. Even minor tweaks can dramatically improve symmetry and aesthetics.
How often should I practice posing my feet?
Regular practice helps you find flattering angles and builds confidence. Even 5–10 minutes a day experimenting with poses can make a big difference.
What common mistakes should I avoid?
- Stiff or tense feet
- Crooked or unclean nails
- Overly forced arches
- Shadows that hide curves
Poses that look unnatural or uncomfortable
Share this post
Ready to transform your images?
Elevate your brand with stunning, high-impact visuals. We’ll refine your photos to leave a lasting impression!
Get Started Now!