How to Edit a Professional Headshot: A Step-by-Step Guide (2026)
Cutout Partner
February 9, 2026
0 views
In today’s digital-first world, a professional headshot is no longer optional. It is often the very first impression you make before a conversation even begins. Whether someone discovers you through LinkedIn, a company website, a portfolio, or a personal brand page, your headshot silently communicates who you are, how serious you are about your work, and how much attention you give to details. A well-edited professional headshot can instantly build trust, while a poorly edited or neglected one can create doubt, even if the person behind the photo is highly skilled.
Professional headshot editing goes far beyond basic adjustments. It is not about changing how someone looks, but about presenting them at their best in a natural, confident, and believable way. Subtle corrections, balanced tones, and thoughtful retouching help the viewer focus on the person rather than on distractions in the image. This is why photographers, business owners, corporate teams, and creative professionals invest time and care into headshot retouching.
In this guide, you will learn how to edit a professional headshot step by step, with clear explanations that are easy to follow for beginners while still offering valuable insight for experienced editors. The goal is to help you understand not only what to edit, but why each step matters, so the final image looks polished, professional, and authentic across all platforms.
What Makes a Headshot Look Professional
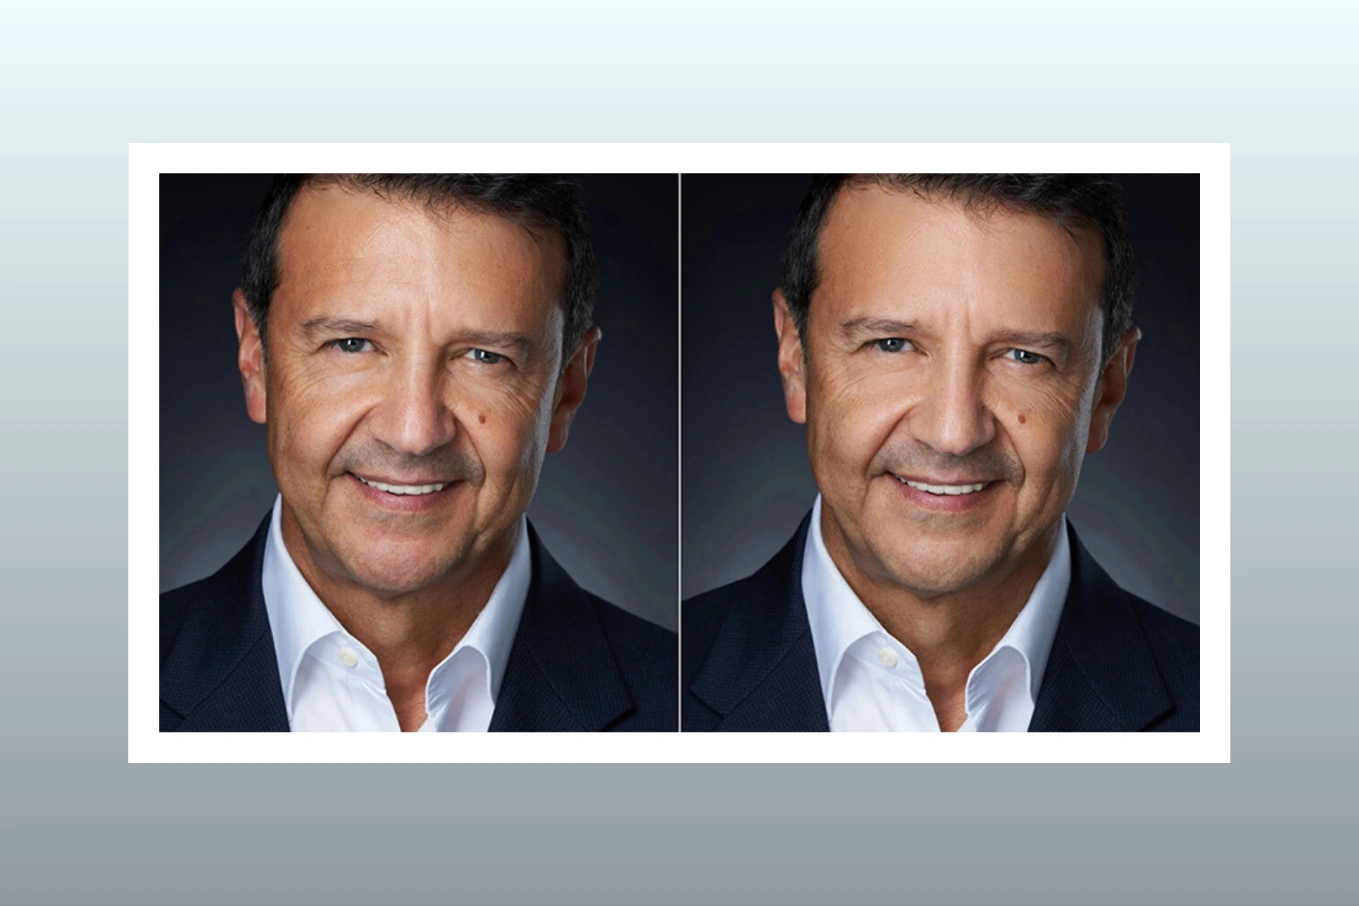
A professional headshot is defined by balance, clarity, and realism. It should feel clean and confident without appearing overworked or artificial. One of the most important elements is lighting balance. Good lighting highlights facial features evenly and avoids harsh shadows that distract from expressions. During editing, this balance is refined rather than completely changed, ensuring the subject still looks natural and approachable.
Skin tone consistency is another key factor. Uneven tones, redness, or color shifts can pull attention away from the face. Professional headshot editing focuses on creating smooth, even skin tones while preserving natural texture. The goal is not perfection but realism that feels healthy and polished.
Facial clarity and expression also play a major role. The eyes should feel sharp and engaging, the smile natural, and the overall expression confident. Editing helps guide the viewer’s attention to the eyes and face by subtly enhancing details without exaggeration. A clean background completes the look by removing distractions and keeping the focus exactly where it should be.
When all of these elements come together through careful retouching, the headshot feels intentional, professional, and trustworthy.
Preparing Your Headshot Before Editing
Successful headshot editing always starts with the right photo. Choosing a strong image makes the entire process smoother and leads to better results. Look for a photo with clear focus, good lighting, and a natural expression. A relaxed face often edits better than one that feels forced or tense, because small enhancements can elevate it without looking artificial.
Correct exposure and framing are also essential. An image that is too dark or overexposed limits how much detail can be recovered during editing. Ideally, the face should be evenly lit, with enough space around the head and shoulders to allow for background adjustments or cropping. Framing should feel balanced, keeping the subject centered or slightly off-center depending on the intended use.
Shooting quality matters more than many people realize. Even the best editing cannot fully fix poor lighting, heavy blur, or extreme shadows. A high-quality image gives the editor flexibility to refine details, maintain skin texture, and achieve a clean, professional finish. This preparation stage often determines how natural and polished the final headshot will look.
Step-by-Step Guide to Editing a Professional Headshot
Editing a professional headshot is a layered process where each step builds on the previous one. Rushing or skipping steps often leads to unnatural results, so patience and consistency are key.
The first step is basic color correction and white balance. This sets the foundation for the entire edit. Adjusting white balance ensures that skin tones look natural and accurate rather than too warm or too cool. Color correction also involves balancing exposure, contrast, and highlights so the image feels clean and evenly lit without losing detail.
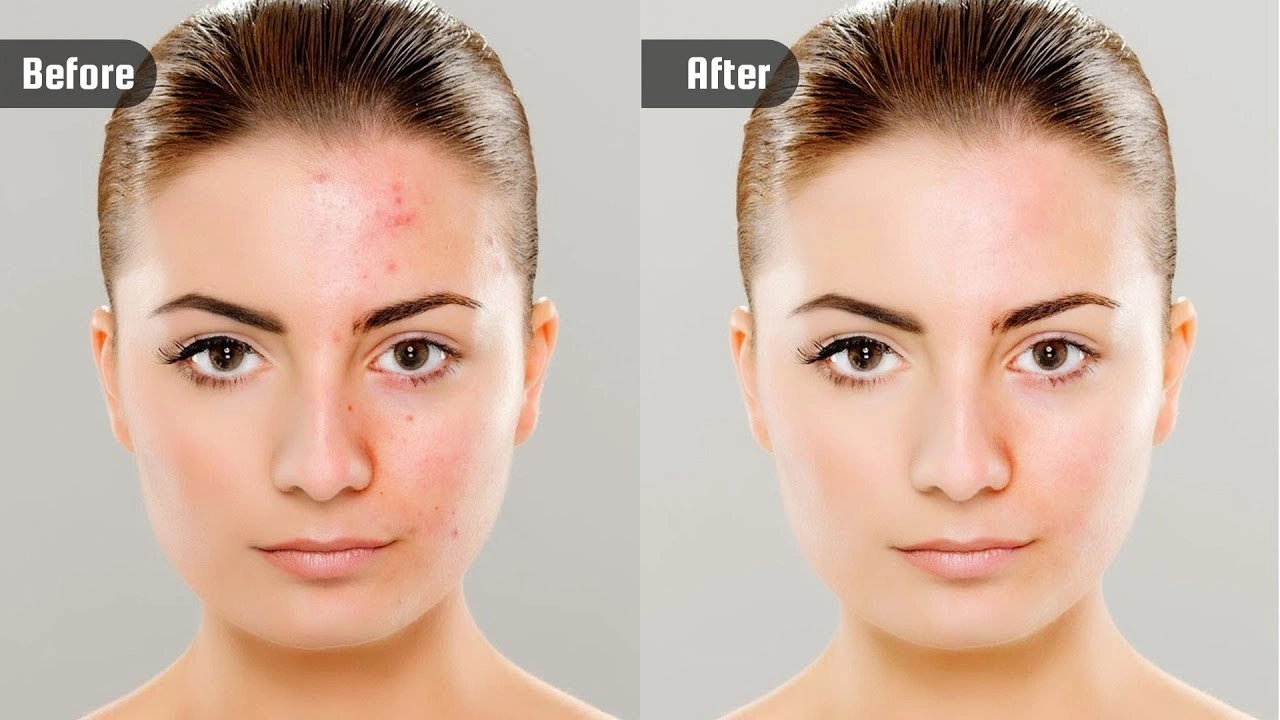
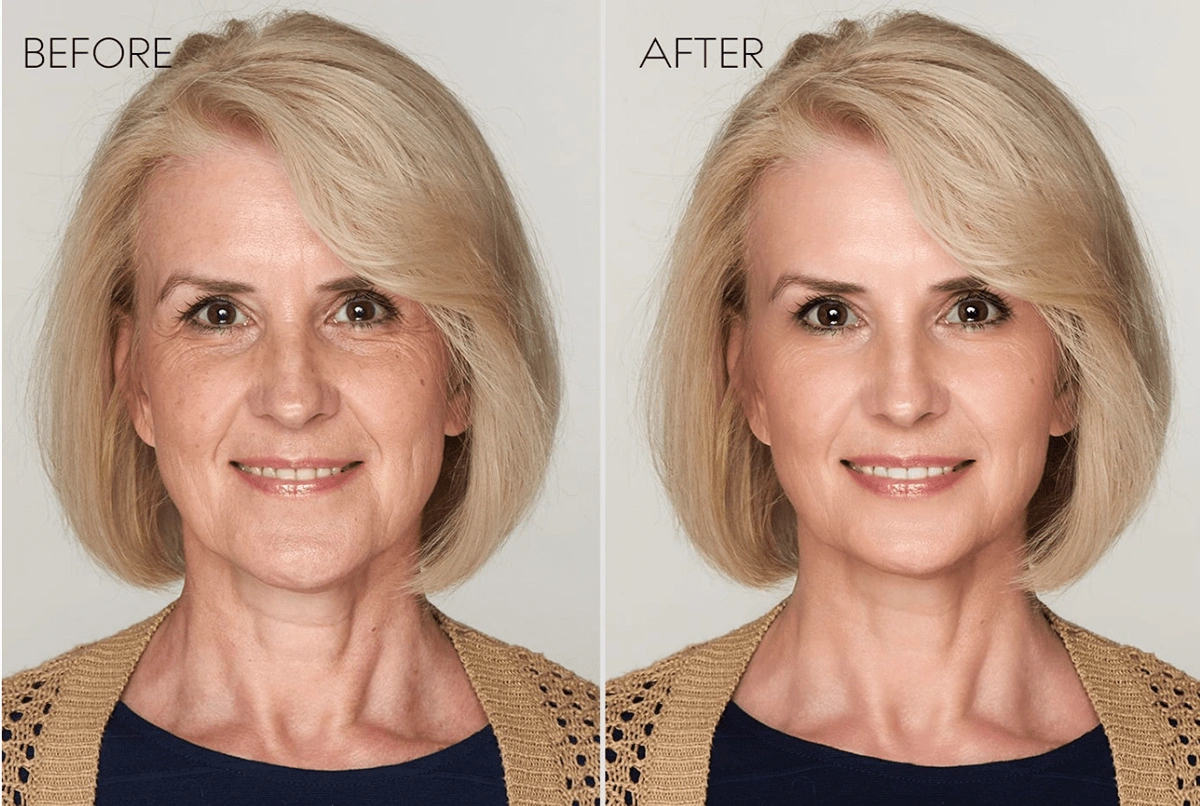
Once the base tones are set, skin retouching can begin. The focus here is on maintaining natural texture while improving overall appearance. Techniques such as frequency separation or careful spot retouching help smooth uneven areas without removing pores or natural skin detail. The goal is to reduce distractions like minor blemishes or uneven patches while keeping the skin realistic.
Removing blemishes should always be done with restraint. Temporary imperfections like pimples or stray marks can be removed, but permanent features such as moles or scars should usually be left unless the client requests otherwise. Over-smoothing skin creates a plastic look that immediately reduces professionalism and trust.
Enhancing the eyes and facial features comes next. Eyes are the most engaging part of a headshot, so subtle sharpening, brightness adjustments, and contrast enhancements can make them stand out naturally. Teeth may also need slight whitening, but this should be done gently to avoid an unnatural glow. Facial contours can be refined with light dodging and burning to add depth and dimension without reshaping the face.
Hair cleanup and flyaway removal are often overlooked but make a significant difference. Stray hairs can distract from an otherwise polished image. Carefully cleaning up flyaways while preserving the natural shape and volume of the hair keeps the headshot looking neat and professional.
Background cleanup or replacement is another important step. A clean background helps keep attention on the subject. Minor distractions, wrinkles, or color inconsistencies can be removed, or the background can be replaced entirely with a neutral tone if needed. The key is to ensure the background complements the subject rather than competing with them.
The final step is color grading for a professional finish. This ties all the adjustments together and creates a consistent look. Subtle tonal adjustments can add warmth, depth, or a slightly modern feel, depending on the intended use of the headshot. At this stage, the image should feel complete, balanced, and ready for use across professional platforms.
Common Headshot Positing and Editing Mistakes to Avoid
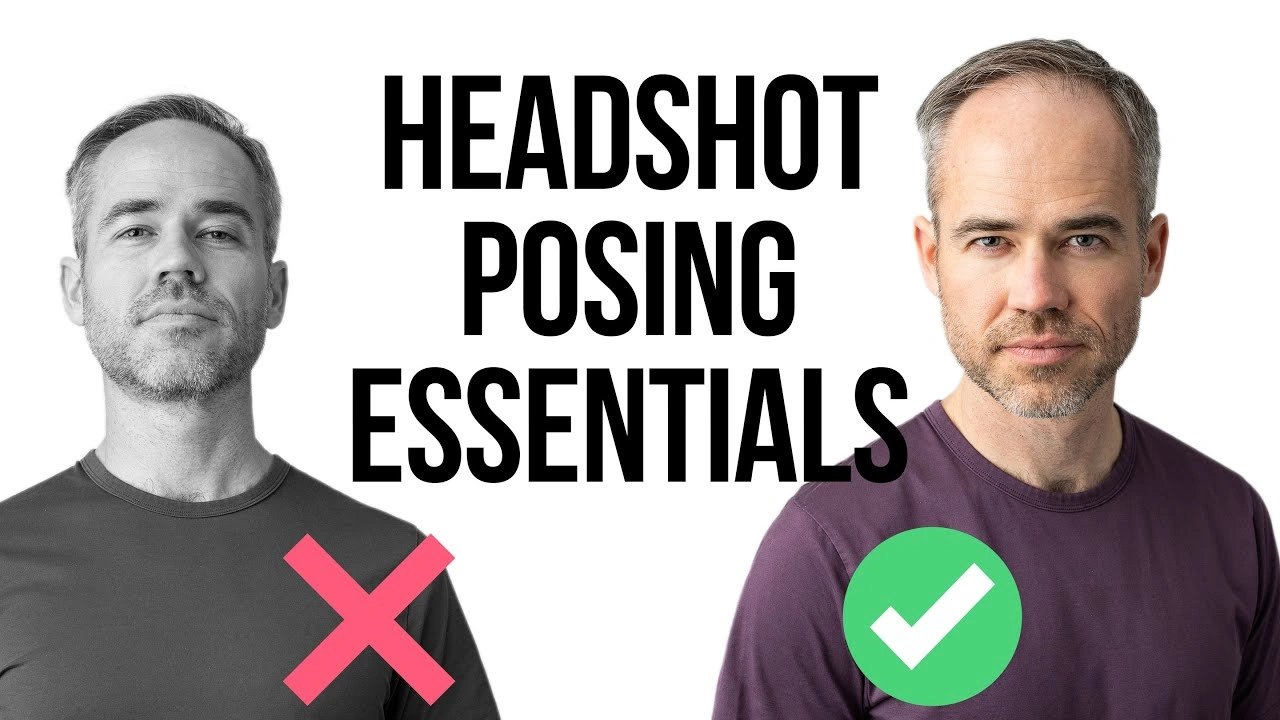
One of the most common mistakes in professional headshot editing is over-retouching. When skin becomes too smooth or facial features are altered too much, the image loses authenticity. Viewers can immediately sense when a photo feels unrealistic, which can harm credibility rather than enhance it.
The plastic skin effect is another frequent issue. This happens when texture is removed entirely, making the face look artificial and flat. Professional retouching should always preserve pores and natural variation in the skin, even while smoothing imperfections.
Unrealistic color tones also reduce professionalism. Skin that appears overly orange, gray, or washed out can distract the viewer and make the image feel unbalanced. Careful color correction and reference to natural skin tones help prevent this problem.
Excessive sharpening is another pitfall. While some sharpening is necessary to enhance clarity, too much can create harsh edges and noise, especially around the eyes and hair. A professional headshot should feel crisp but soft enough to remain natural and flattering.
Professional Headshot Editing for Different Purposes
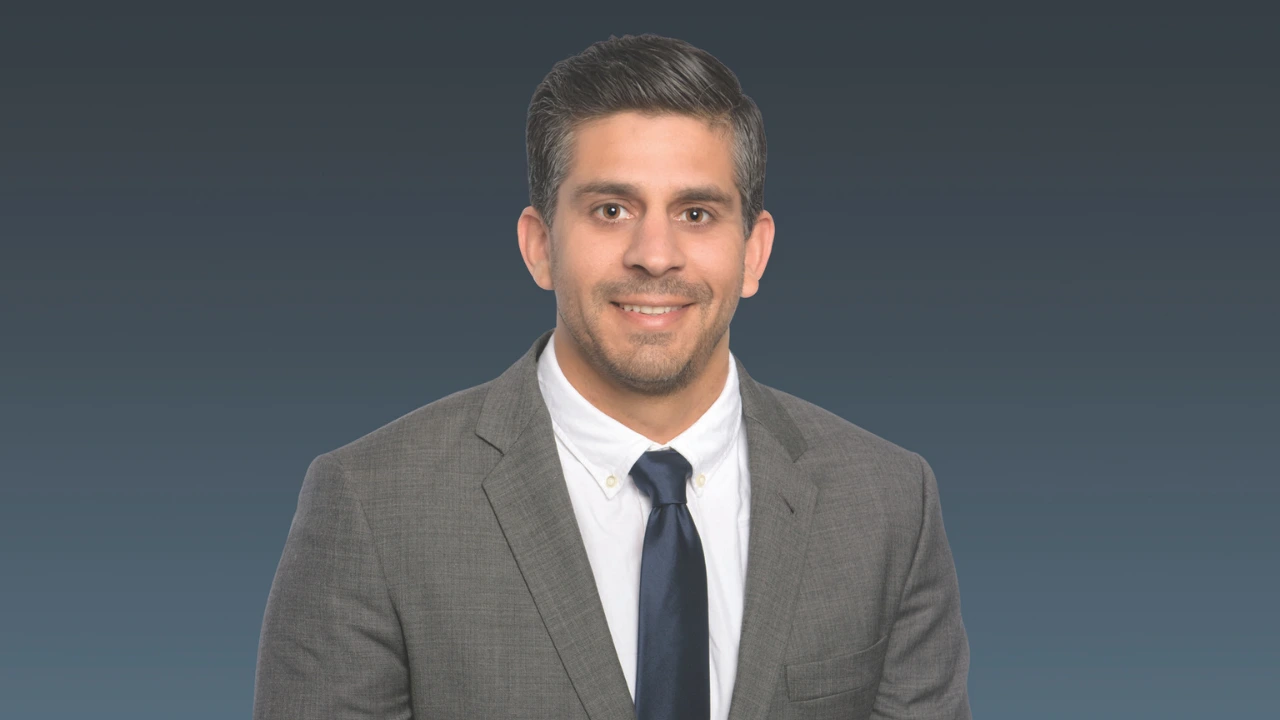
Not all headshots serve the same purpose, and editing should always reflect the intended use. Corporate and business headshots typically require a clean, conservative style. The editing focuses on realism, balanced tones, and a neutral background that works well on company websites and professional profiles.
LinkedIn and personal branding headshots allow for a bit more personality while still maintaining professionalism. These images often benefit from slightly warmer tones and a friendly, approachable feel that aligns with personal branding goals.
Actor and model headshots require a different approach altogether. These images are often more expressive and detailed, highlighting natural features and individuality. Editing should be minimal and honest, as casting directors want to see the real person rather than a heavily retouched version.
Creative headshots, on the other hand, may allow for more stylized color grading or background choices. The key difference between creative and professional styles lies in intent. Professional headshots prioritize trust and clarity, while creative ones may emphasize mood and artistic expression. Understanding this distinction ensures the editing supports the subject’s goals rather than working against them.
Why Professional Headshot Photography Retouching Makes a Difference
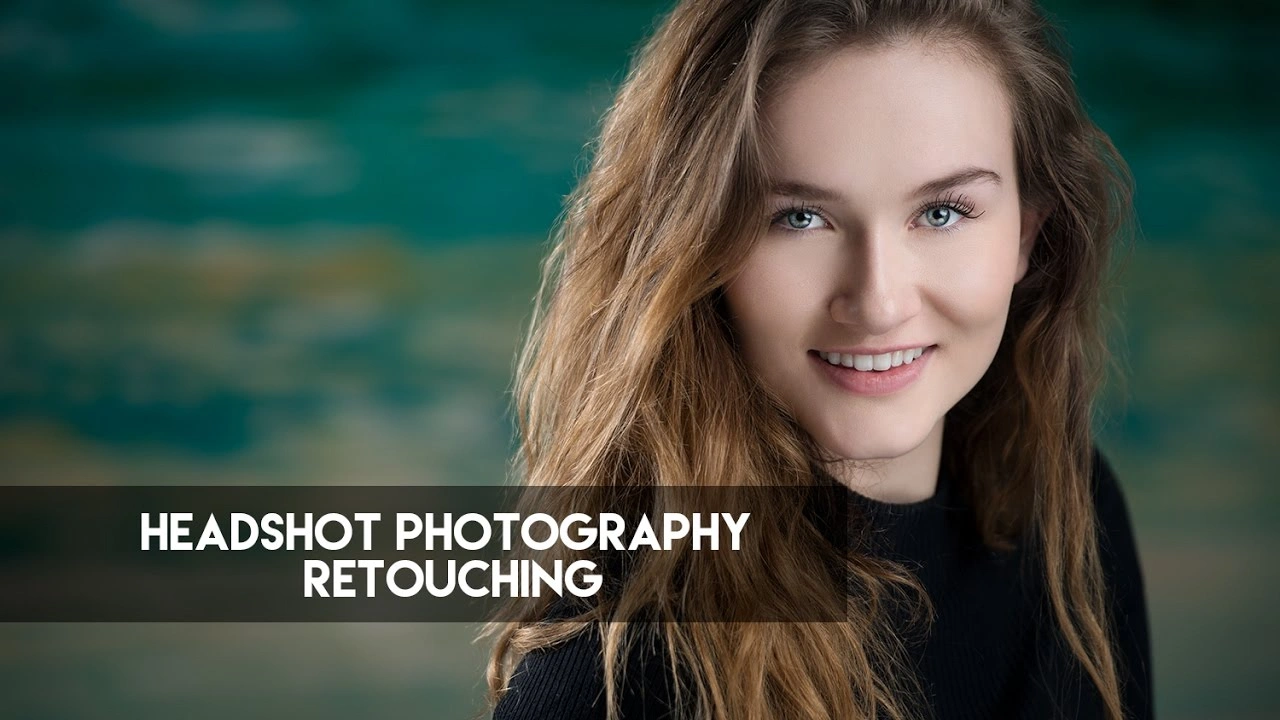
A professionally edited headshot has a powerful impact on first impressions. Within seconds, viewers form opinions based on visual cues, and a polished headshot instantly communicates confidence, competence, and attention to detail. This is especially important in competitive industries where personal branding plays a major role.
Professional headshot retouching also builds brand trust and confidence. When images across a website or social platform look consistent and high-quality, they reinforce a sense of reliability and professionalism. This consistency helps individuals and businesses present a unified, credible image to their audience.
Another major advantage is platform consistency. A professionally retouched headshot can be used across LinkedIn, company websites, portfolios, and marketing materials without looking out of place. This consistency strengthens personal or corporate branding and makes a lasting impression.
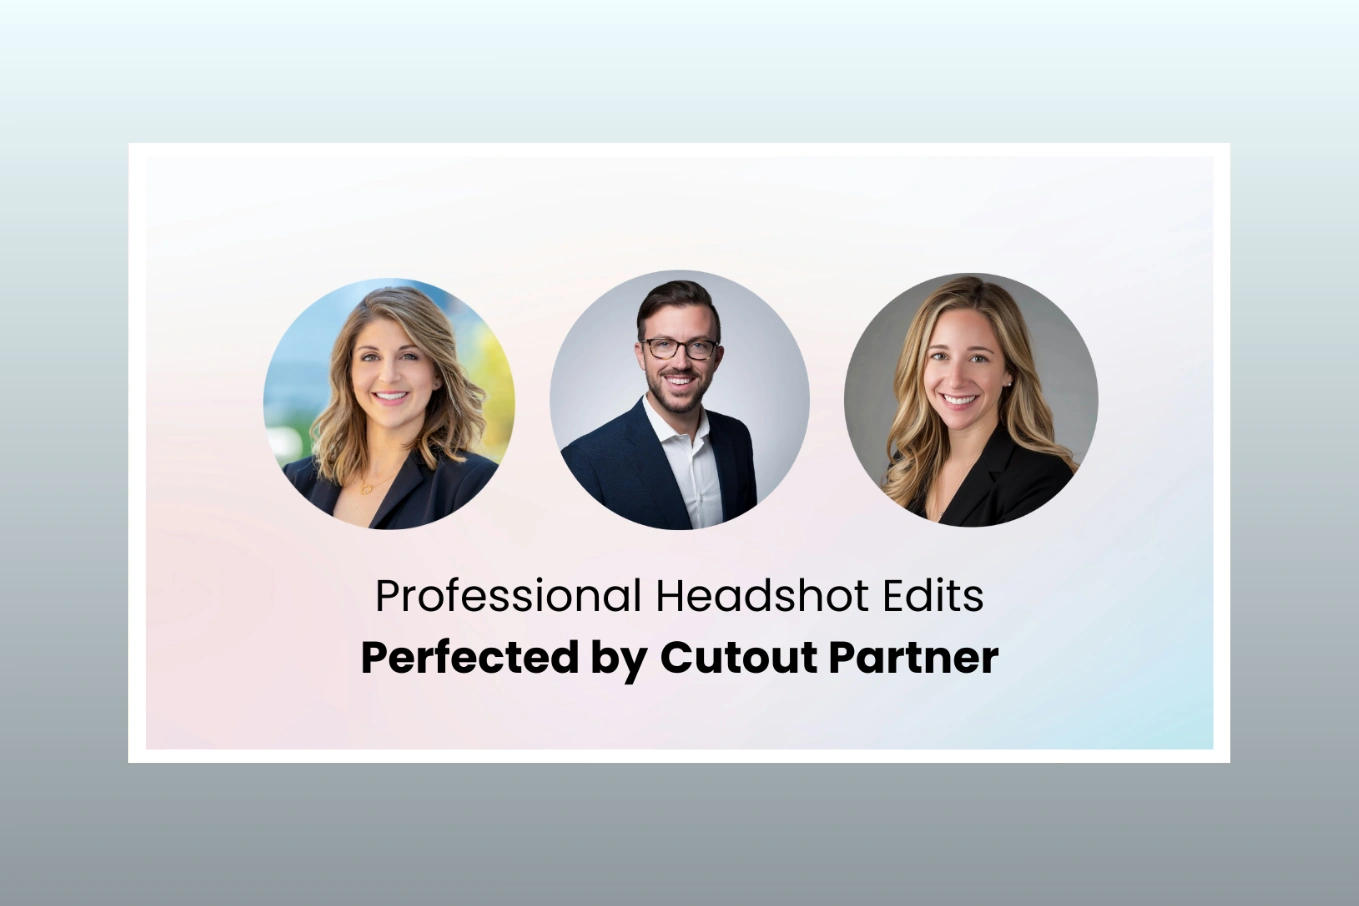
Why Choose Cutout Partner for Professional Headshot Editing
Achieving a truly professional headshot requires experience, skill, and an understanding of subtle retouching techniques. This is where working with a trusted professional headshot retouching company makes a real difference. Cutout Partner is a premium photo retouching company trusted by photographers, businesses, and professionals worldwide for high-quality, natural-looking results.
With deep expertise in high-end photo retouching, Cutout Partner focuses on enhancing images without compromising realism. Every headshot is edited with careful attention to skin texture, color accuracy, and facial detail, ensuring the final result looks polished yet authentic. The team understands that professional headshots are about confidence and credibility, not heavy edits.
Fast turnaround times and consistent quality make Cutout Partner a reliable choice for individuals and businesses alike. Whether you need a single headshot or a large batch for a corporate team, the results remain consistent, clean, and professional across every image. This level of reliability is why photographers and companies continue to trust Cutout Partner for their professional headshot editing needs.
You might also read this article:
- Best & Affordable Clipping Path Service Provider
- How to Choose the Best Photo Retouching Company
- Photoshop Services Near Me: Why Choose Cutout Partner
- How to Create Invisible Ghost Mannequin Photography
Final Thoughts
Editing a professional headshot is both a technical process and an art. It requires a careful balance between enhancement and realism, ensuring the subject looks confident, approachable, and authentic. From preparing the right photo to applying thoughtful retouching techniques, every step plays a role in creating a polished final image.
A well-edited headshot can elevate personal branding, strengthen professional credibility, and leave a lasting impression across digital platforms. While basic edits can be done independently, professional headshot retouching ensures consistency, quality, and a refined finish that stands out in today’s competitive landscape.
By understanding the principles outlined in this guide and choosing experienced professionals when needed, you can ensure that every headshot truly represents the best version of the person behind the image.
FAQs on How to Edit a Professional Headshot
-
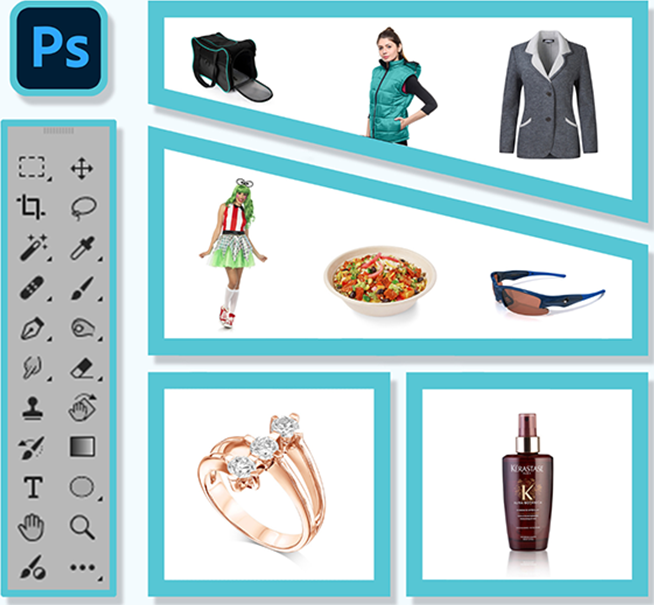
What is the best software to edit a professional headshot?
Professional headshots can be edited using software like Adobe Photoshop, Lightroom, or Capture One. For beginners, Lightroom offers easy tools for color correction, exposure adjustments, and minor retouching. Cutout Partner uses advanced software to deliver high-quality professional results with precision.
-
How can I make my headshot look more professional?
A professional headshot should have proper lighting, natural skin tones, and a clean background. Editing can enhance clarity, remove blemishes, adjust exposure, and improve color balance. Cutout Partner ensures subtle retouching that keeps your photo natural yet polished.
-
Should I remove blemishes or wrinkles from a headshot?
Yes, but lightly. The goal is to look polished while maintaining authenticity. Over-editing can make a photo look artificial. Experts at Cutout Partner carefully retouch blemishes and wrinkles while preserving natural features.
-
Can I change the background of my professional headshot?
Absolutely. Many headshots benefit from clean, neutral, or branded backgrounds. Professional agencies like Cutout Partner can replace or refine backgrounds while keeping edges smooth and realistic.
-
How do I correct lighting issues in my headshot?
Editing software allows adjustments to exposure, contrast, highlights, and shadows. A subtle increase in brightness and contrast can make the face pop without altering natural skin tones. Cutout Partner applies these adjustments professionally for the best results.
-
How much editing is too much for a headshot?
Editing should enhance, not transform, your appearance. Avoid heavy filters, over-smoothing, or unrealistic color changes. Cutout Partner focuses on subtle retouching that improves the photo while maintaining authenticity.
-
How long does it take to edit a professional headshot?
Simple adjustments can be done in minutes using basic tools, but detailed professional retouching may take several hours depending on the image’s condition. Cutout Partner offers fast turnaround while ensuring high-quality results.
-
Can I edit a headshot on my phone?
Yes, apps like Lightroom Mobile and Snapseed allow basic edits like brightness, contrast, and minor retouching. However, for professional-grade results suitable for resumes, LinkedIn, or corporate use, a premium service like Cutout Partner is recommended.
-
How can I make my headshot look consistent for multiple photos?
Use the same lighting, background, and color grading across all headshots. Professionals at Cutout Partner can batch-edit images to maintain a consistent and polished look.
-
Why should I hire a professional photo editing agency for my headshot?
Professional agencies like Cutout Partner provide skilled human retouchers who understand subtle adjustments, maintain authenticity, and produce high-quality results. They ensure your headshot looks polished, professional, and suitable for all purposes.
Share this post
Ready to transform your images?
Elevate your brand with stunning, high-impact visuals. We’ll refine your photos to leave a lasting impression!
Get Started Now!